
Hydroponics has revolutionized modern gardening by allowing plants to grow without soil, using nutrient-rich water solutions. While commercial hydroponic setups are often expensive, it is possible to build a functional, cost-effective system at home for under $1 (or 100 Rs), making it accessible for everyone.
Whether you live in an apartment, have limited outdoor space, or want a low-cost solution for growing fresh vegetables, this guide will show you how to make the cheapest hydroponic system, step by step, with full information on setup, materials, planting, care, and harvesting.
Why Choose Hydroponics
Hydroponics offers several advantages over traditional soil gardening:
- Faster Growth: Plants grow 20–50% faster due to direct nutrient availability.
- Less Space Required: Ideal for small apartments or urban areas.
- Water Efficiency: Uses 70–90% less water than soil gardening.
- Soil-Free: Eliminates soil-borne pests and diseases.
- Year-Round Production: Can grow fresh vegetables indoors or on a balcony.
With a cheap DIY hydroponic system, anyone can experience the benefits of hydroponics without high costs or specialized equipment.
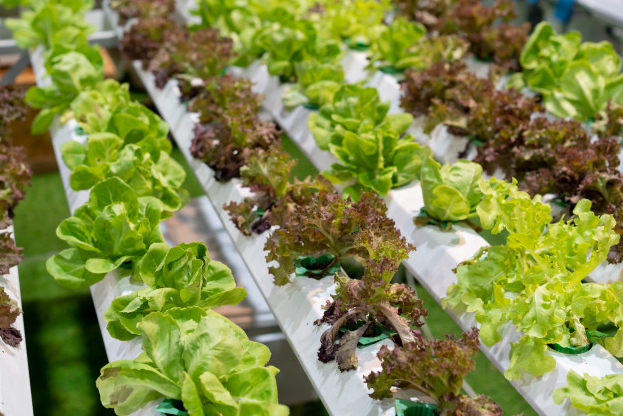
Step 1: Choosing the Right Plants
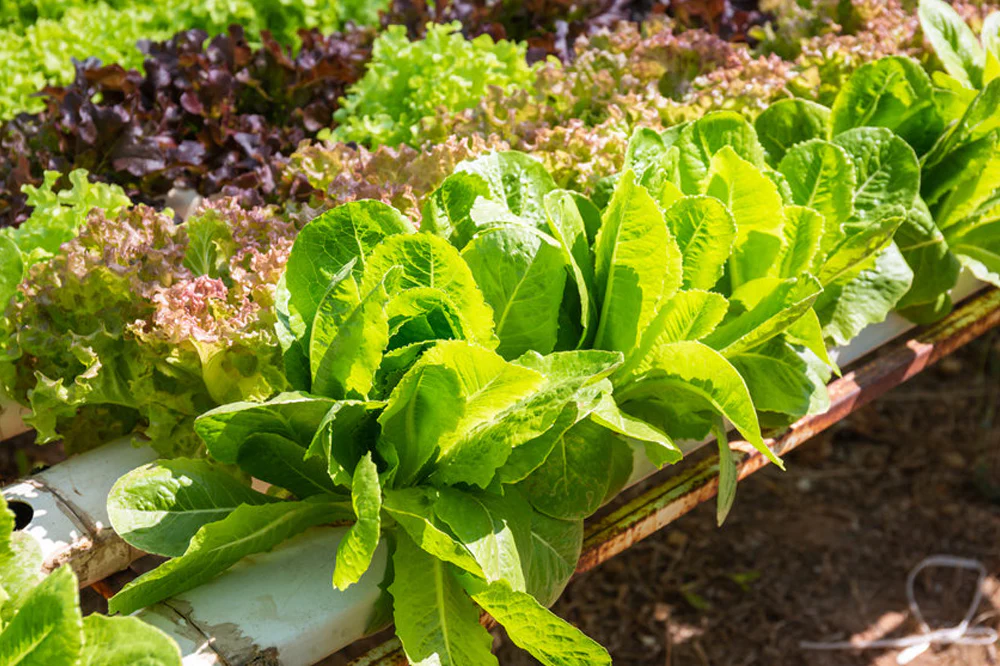
Not all plants thrive in hydroponics. For beginners and low-cost setups, choose:
- Leafy Greens: Lettuce, spinach, kale, and arugula.
- Herbs: Basil, coriander, mint, and parsley.
- Small Fruits: Cherry tomatoes, strawberries, and chili peppers.
Pro Tip: Start with fast-growing leafy greens for quicker results and easier maintenance.
Step 2: Materials Needed for a Budget Hydroponic System
For a system under $1 / 100 Rs, you can use household and easily available materials:
- Container or Tray: Plastic bottles, old containers, or Tupperware.
- Growing Medium: Sponges, cloth, coconut coir, or small stones.
- Water: Tap water or rainwater works fine.
- Nutrients: Homemade organic solutions (e.g., compost water, diluted urea, or liquid fertilizers).
- Support Structure: Toothpicks, straws, or cardboard for plant support.
- Seeds: Fast-growing leafy vegetables and herbs.
Pro Tip: Almost all materials can be repurposed from household waste, keeping the cost under $1.
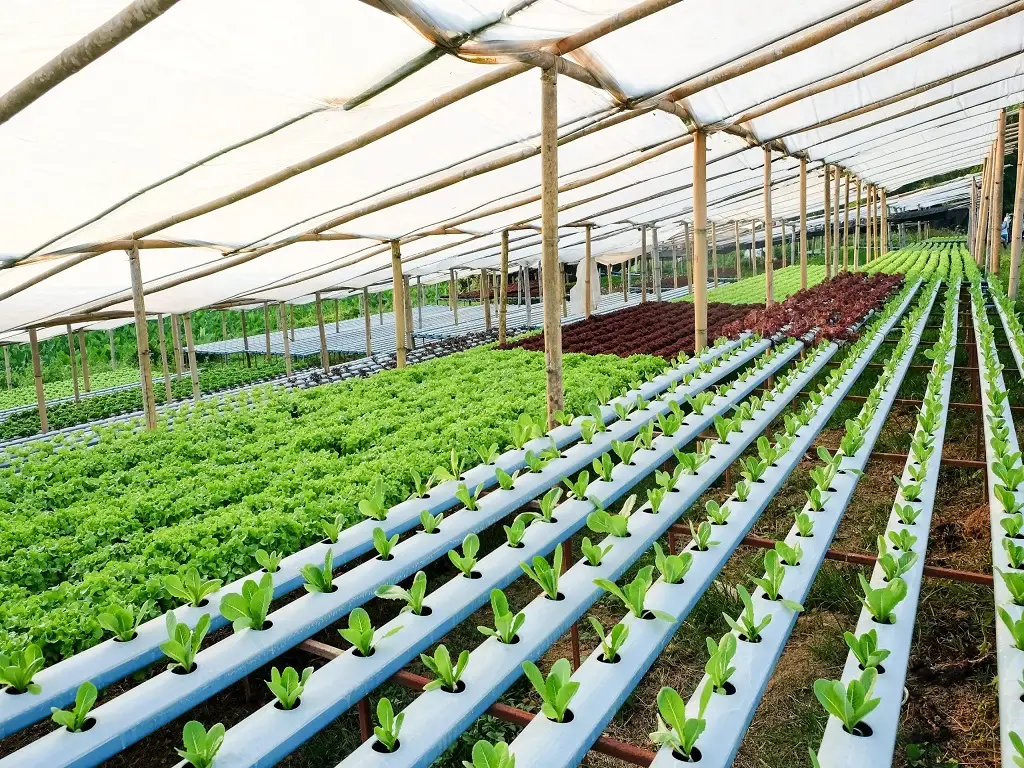
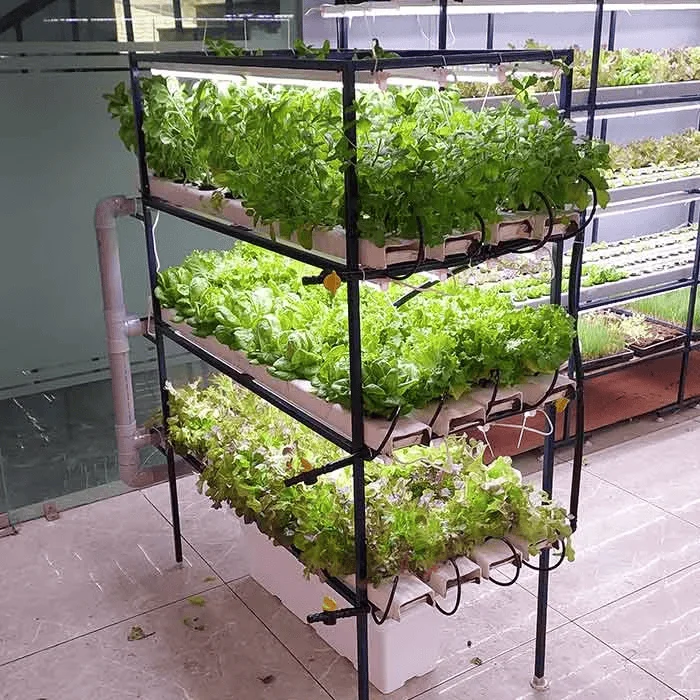
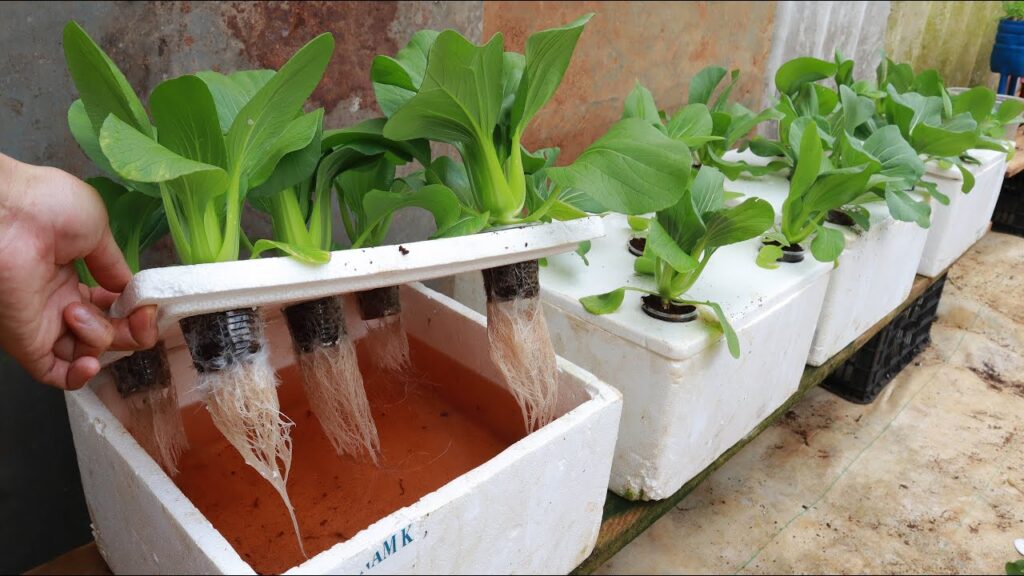
Step 3: Setting Up the Hydroponic System
Option 1: Bottle Hydroponics (NFT Style)
- Take two plastic bottles of the same size.
- Cut the bottom of the top bottle and invert it inside the bottom bottle.
- Place cotton, sponge, or cloth inside the top bottle to hold seeds.
- Fill the bottom bottle with nutrient solution. The upper bottle wicks nutrients to the plant roots.
Option 2: Tray Hydroponics (Static Water Culture)
- Use a shallow container as a tray.
- Fill with water mixed with nutrient solution.
- Place seedlings in sponges or small cups floating on the water surface.
Pro Tip: Both methods are cheap, space-saving, and ideal for beginners.
Step 4: Preparing the Nutrient Solution
For a budget system, you don’t need expensive commercial solutions. Use:
- Organic Compost Water: Soak compost in water for 24–48 hours and filter.
- Liquid Fertilizer: Mix 1 tsp of urea or NPK fertilizer in 1 liter of water.
- Optional Supplements: Small amounts of Epsom salt or calcium carbonate for calcium and magnesium.
Pro Tip: Keep the solution diluted to prevent burning the young plants. Refresh every 7–10 days.
Step 5: Sowing Seeds
- Seed Preparation: Soak seeds in water for a few hours to improve germination.
- Planting: Place seeds in sponges, cloth, or coconut coir inside the top bottle or floating cup.
- Depth: Cover seeds lightly with growing medium or keep on damp sponge.
- Moisture: Keep the medium moist until seedlings emerge.
Pro Tip: Leafy greens like lettuce germinate in 3–7 days, giving quick results for beginners.
Step 6: Light Requirements
- Natural Light: Place the system near a bright window receiving 6–8 hours of sunlight.
- Artificial Light: If sunlight is limited, use LED or CFL lights for 12–14 hours daily.
Pro Tip: Rotate plants periodically to ensure even light exposure and healthy growth.
Step 7: Maintaining the Hydroponic System
- Water Level: Keep water level consistent to ensure roots are in contact with the nutrient solution.
- Aeration: Gently stir water daily or leave a small gap for oxygen to reach roots.
- Temperature: Keep water temperature around 20–25°C (68–77°F) for optimal growth.
- Cleaning: Change nutrient solution every 7–10 days and clean containers to prevent algae growth.
Pro Tip: Regular maintenance prevents stagnation, root rot, and algae issues.
Step 8: Harvesting
- Leafy Greens: Harvest when leaves are 3–6 inches long. Cut outer leaves first for continuous growth.
- Herbs: Pinch leaves from top to encourage bushier growth.
- Timing: Most leafy vegetables are ready 2–4 weeks after germination.
Pro Tip: Frequent harvesting stimulates new growth and increases yield over time.
Step 9: Advantages of a Low-Cost Hydroponic System
- Affordable: Requires minimal investment using household items.
- Educational: Teaches children and adults about plant growth and sustainability.
- Quick Results: Fast germination and growth compared to soil gardening.
- Urban Gardening Friendly: Ideal for apartments, balconies, or rooftops.
- Reduced Waste: Repurposes bottles, containers, and scraps, promoting a zero-waste lifestyle.
Pro Tip: This system proves that hydroponics is accessible to everyone, even with minimal resources.
Step 10: Tips for Success
- Use Clean Containers: Prevent contamination and fungal growth.
- Monitor Water Level: Roots must stay in nutrient solution but not be waterlogged.
- Ensure Proper Light: Plants need sufficient light for photosynthesis and healthy growth.
- Change Nutrient Solution Regularly: Maintains consistent nutrient supply and prevents algae.
- Start Small: Begin with 2–3 plants and scale up as you gain experience.
Pro Tip: Track plant growth to identify problems early and maximize yield.
Step 11: Common Mistakes to Avoid
- Neglecting Light: Leads to leggy, weak plants.
- Overfertilizing: Can burn plant roots and stunt growth.
- Ignoring Cleanliness: Algae and fungal infections reduce plant health.
- Overcrowding: Ensure adequate spacing between plants for proper nutrient absorption.
Pro Tip: Patience and consistent care are key to a thriving hydroponic garden.
Conclusion
Hydroponics doesn’t have to be expensive. With household items, a bit of creativity, and minimal investment, anyone can build a functional hydroponic system under $1 / 100 Rs. From leafy greens to herbs, this low-cost setup allows you to grow fresh, healthy vegetables year-round, even in limited space.
By following this guide—from choosing plants, setting up containers, preparing nutrient solutions, maintaining the system, and harvesting—you can enjoy organic, homegrown produce while reducing waste and learning sustainable gardening techniques.
Start your cheap hydroponic system today, and experience the joy of fresh, nutritious vegetables from your own home, without breaking the bank!