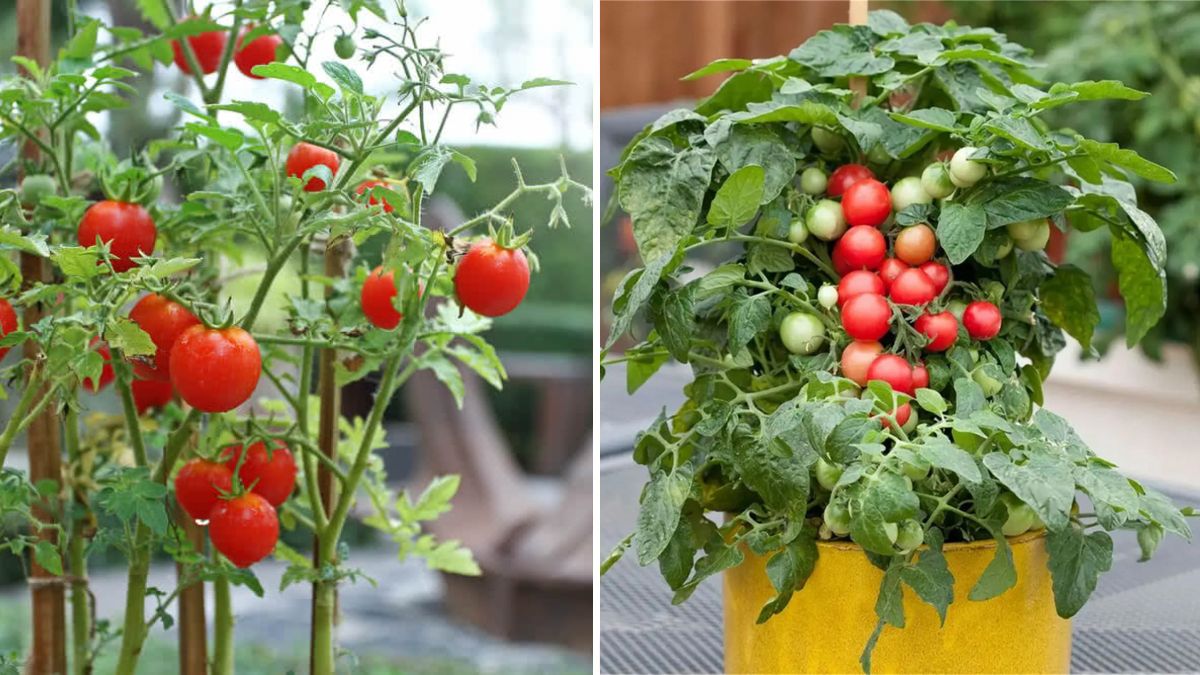
Cherry tomatoes are one of the most popular and rewarding plants to grow at home. Their small, vibrant, and juicy fruits are perfect for salads, snacks, sauces, and garnishes. Unlike larger tomato varieties, cherry tomatoes are fast-growing, prolific, and well-suited for container gardening, making them ideal for both beginners and experienced gardeners.
This guide provides complete instructions on how to grow cherry tomatoes from seeds to harvest, covering planting, care, fertilization, pruning, pest control, and harvesting tips for maximum yield.
Why Grow Cherry Tomatoes at Home
- Fresh and Organic: Homegrown tomatoes are free from harmful chemicals.
- Highly Nutritious: Packed with vitamins A, C, and antioxidants like lycopene.
- Quick and Prolific: Produce fruits within 60–80 days from planting.
- Space-Saving: Perfect for pots, hanging baskets, or small garden beds.
- Culinary Versatility: Ideal for salads, pasta, pizzas, and snacks.
Growing cherry tomatoes at home ensures fresh, flavorful fruits year-round, while adding a touch of greenery to your balcony or garden.
Step 1: Selecting the Right Variety

Cherry tomatoes come in varieties based on color, size, and growth habit:
- Red Cherry Tomatoes: Classic, sweet flavor, widely popular.
- Yellow/Orange Cherry Tomatoes: Milder, slightly less acidic.
- Grape Tomatoes: Small, elongated, and very sweet.
- Indeterminate Varieties: Grow continuously and produce fruit throughout the season.
- Determinate Varieties: Compact plants with a defined harvest period.
Pro Tip: Choose indeterminate varieties if you want continuous harvest, and determinate types if you prefer a concentrated yield for processing or canning.
Step 2: Starting from Seeds
- Seed Selection: Use high-quality, disease-resistant seeds.
- Sowing Medium: Use seed trays with lightweight, well-draining soil or seed-starting mix.
- Sowing Depth: Sow seeds about ¼ inch deep.
- Watering: Mist gently to keep the soil moist, not soggy.
- Temperature: Keep trays in warm, bright areas (65–75°F or 18–24°C).
Pro Tip: Cover trays lightly with plastic wrap or a dome to retain humidity and encourage germination. Seeds usually sprout in 5–10 days.
Step 3: Transplanting Seedlings
- Timing: Transplant seedlings when they develop 2–3 true leaves and are 3–4 inches tall.
- Containers: Use pots or containers at least 12 inches deep and wide, with drainage holes.
- Soil: Mix garden soil, compost, and cocopeat or sand for aeration and fertility.
- Planting Depth: Bury seedlings up to the first set of true leaves to encourage strong root development.
Pro Tip: Harden off seedlings by gradually exposing them to sunlight for a few hours each day before transplanting outdoors.
Step 4: Sunlight and Temperature
- Sunlight: Cherry tomatoes need 6–8 hours of direct sunlight daily.
- Temperature: Optimal growth occurs between 70–85°F (21–29°C).
- Indoor Cultivation: Use grow lights to provide sufficient light for 12–16 hours daily if sunlight is limited.
Pro Tip: Ensure good air circulation around plants to reduce fungal disease risk.
Step 5: Watering
- Consistency is Key: Water regularly, keeping soil evenly moist.
- Avoid Wet Leaves: Water at the soil level to prevent fungal issues.
- Mulching: Apply straw or organic mulch to retain soil moisture and reduce evaporation.
Pro Tip: Cherry tomatoes are sensitive to water stress; inconsistent watering can cause blossom-end rot and cracking of fruits.
Step 6: Fertilization
- Organic Options: Use compost, vermicompost, or liquid organic fertilizers.
- Balanced Fertilizer: Apply a fertilizer high in phosphorus and potassium to encourage flowering and fruiting.
- Frequency: Fertilize every 2–3 weeks during the growing season.
Pro Tip: Avoid excessive nitrogen, as it encourages leafy growth at the expense of flowers and fruits.
Step 7: Supporting Plants
- Indeterminate Varieties: Require stakes, cages, or trellises to support climbing growth.
- Determinate Varieties: May need minimal support but still benefit from small cages to prevent sprawling.
- Tying: Use soft ties to gently secure stems to stakes without damaging them.
Pro Tip: Regularly prune lower leaves and suckers to reduce disease risk and improve fruit production.
Step 8: Pruning and Maintenance
- Suckers: Remove small shoots growing between the main stem and branches to focus energy on fruiting.
- Yellow Leaves: Remove old or yellowing leaves to improve airflow and reduce disease.
- Flower Management: Pinch off early flowers if seedlings are weak to allow stronger growth.
Pro Tip: Pruning encourages larger fruits, higher yield, and healthier plants.
Step 9: Pest and Disease Management
Common issues include:
- Aphids: Spray neem oil or insecticidal soap.
- Whiteflies: Use yellow sticky traps or neem sprays.
- Fungal Diseases (Powdery Mildew, Early Blight): Ensure good air circulation, avoid wetting leaves, and use organic fungicides.
- Blossom-End Rot: Caused by calcium deficiency; maintain consistent soil moisture and add crushed eggshells or calcium supplements.
Pro Tip: Inspect plants weekly for early detection and treatment of pests and diseases.
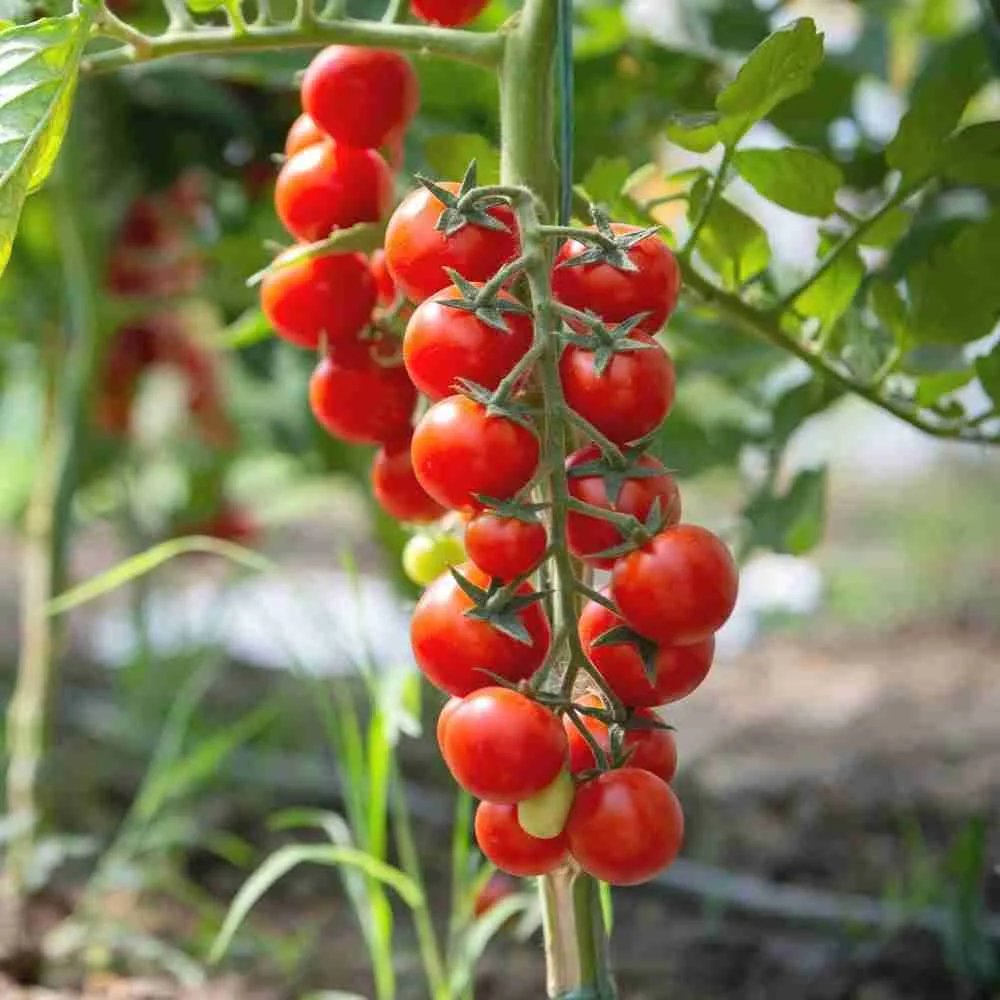
Step 10: Flowering and Fruiting
- Cherry tomatoes typically flower 6–8 weeks after transplanting.
- Fruits develop 2–3 weeks after flowering.
- Indeterminate varieties produce fruit continuously until frost or plant decline.
Pro Tip: Hand pollinate flowers by gently shaking stems or using a soft brush to improve fruit set, especially in indoor or balcony gardens.
Step 11: Harvesting
- Timing: Harvest when cherry tomatoes are fully colored (red, yellow, or orange depending on variety) and slightly soft to the touch.
- Method: Gently twist or cut fruits to avoid damaging the vine.
- Frequency: Harvest every 2–3 days for continuous production.
Pro Tip: Regular harvesting encourages more flowers and fruiting.
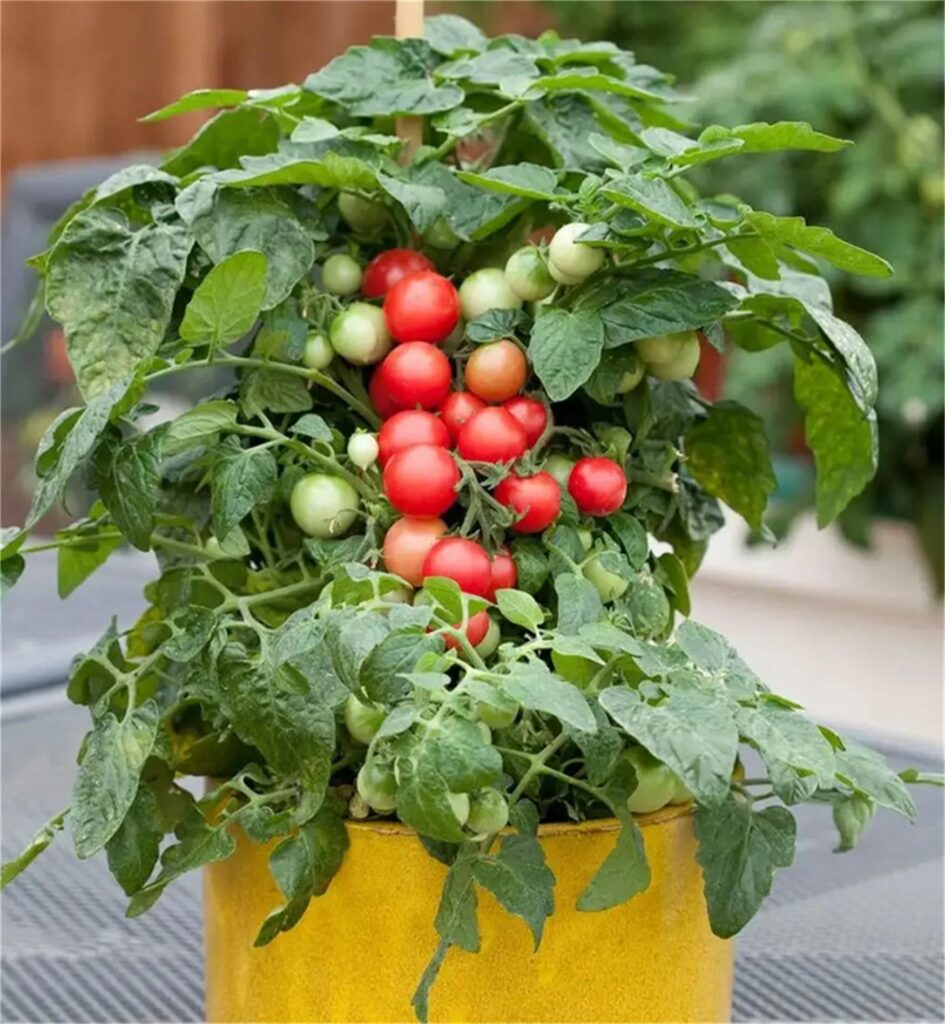
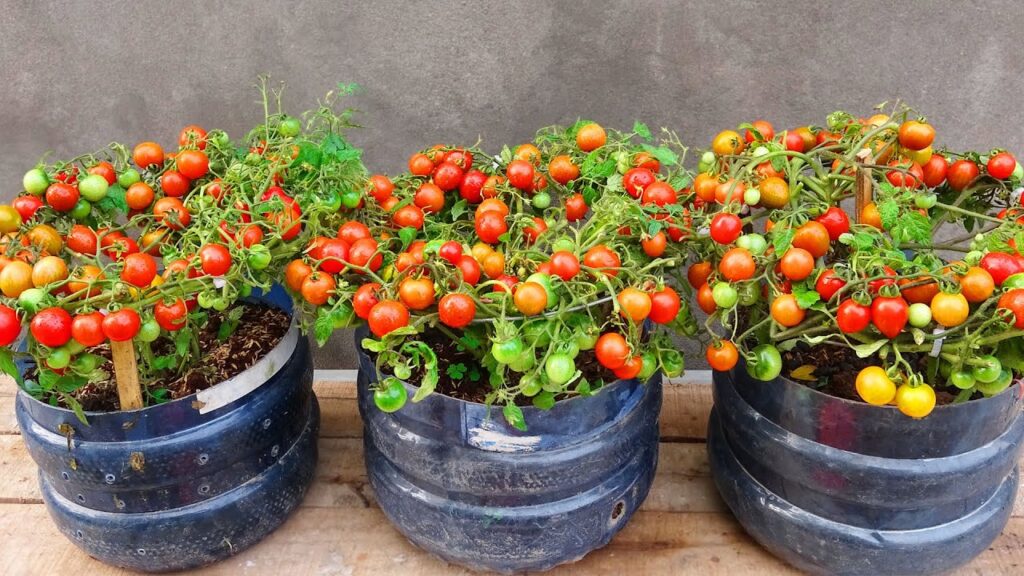
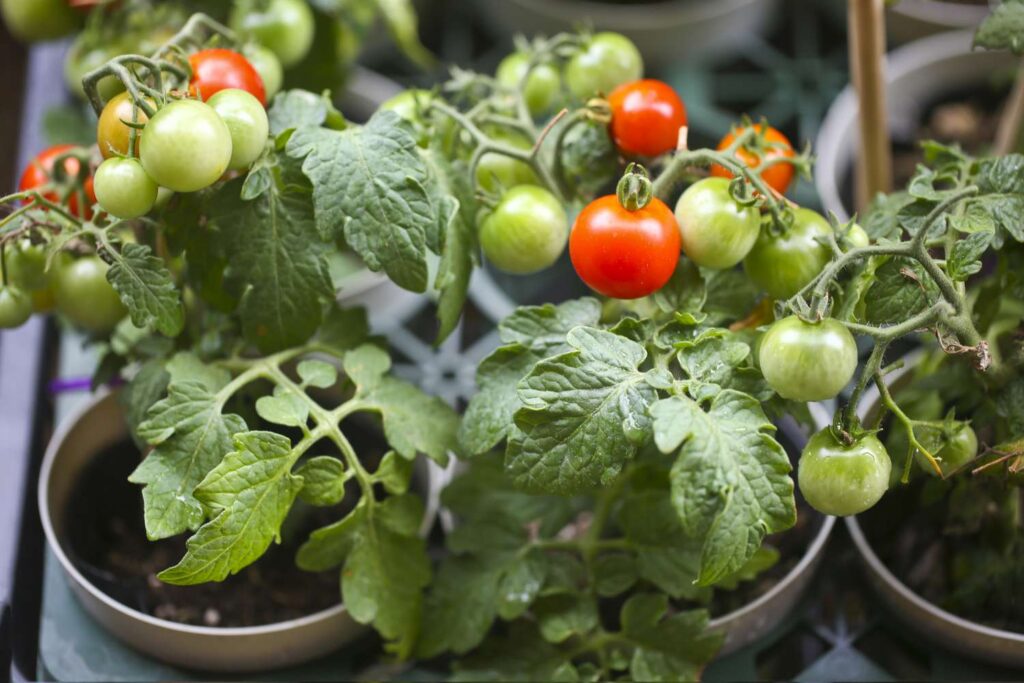
Step 12: Container Growing Tips
- Pot Selection: Choose pots with good drainage and adequate size.
- Soil Refresh: Change soil or top-dress containers with compost after each harvest cycle.
- Rotation: Rotate containers for even sunlight exposure.
- Winter Care: Move containers indoors or use covers to protect from frost.
Pro Tip: Cherry tomatoes thrive in containers and can produce higher yields per square foot than in-ground planting.
Benefits of Growing Cherry Tomatoes at Home
- Nutritious and Fresh: Full of vitamins, antioxidants, and flavor.
- Space-Saving: Ideal for small spaces and balconies.
- Cost-Effective: Reduces grocery bills with continuous harvest.
- Eco-Friendly: Minimizes carbon footprint by reducing transport and packaging.
- Therapeutic: Gardening improves mental health and reduces stress.
Pro Tip: Homegrown cherry tomatoes often taste sweeter and juicier than store-bought ones.
Common Mistakes to Avoid
- Insufficient Sunlight: Leads to poor flowering and leggy plants.
- Overwatering: Causes root rot and fungal issues.
- Neglecting Support: Weak stems may collapse under fruit weight.
- Over-Fertilization with Nitrogen: Excess leaves, fewer fruits.
- Ignoring Pests: Aphids, whiteflies, and blights can quickly spread.
Pro Tip: Follow a consistent care routine for maximum yield and healthy plants.
Conclusion
Growing cherry tomatoes at home is fun, rewarding, and highly productive, whether in a garden bed, balcony, or container. From seed sowing, transplanting, watering, fertilization, and pruning, to pest management and harvesting, this guide ensures you can enjoy fresh, juicy, and nutrient-packed cherry tomatoes year-round.
With patience, proper care, and the right techniques, cherry tomato plants can provide continuous harvests for months, turning your home into a productive mini-garden full of vibrant colors and delicious fruits. Start your cherry tomato journey today and enjoy the taste, health benefits, and satisfaction of homegrown produce!