Ginger, known for its aromatic flavor, medicinal properties, and culinary versatility, is a staple in kitchens around the world. While many people purchase ginger from the market, growing it at home in containers is simple, cost-effective, and highly rewarding. Container gardening allows you to grow fresh, organic ginger year-round, even if you don’t have a garden.
This guide provides full information on growing ginger in containers, from selecting rhizomes to harvesting, caring for the plant, and ensuring high yields.
Why Grow Ginger in Containers
- Fresh and Organic: Control pesticides and fertilizers.
- Space-Saving: Perfect for balconies, terraces, or small spaces.
- Year-Round Growth: Container-grown ginger can thrive indoors or outdoors.
- Health Benefits: Rich in antioxidants, vitamins, and minerals.
- Low Maintenance: Once established, ginger is hardy and resilient.
Growing ginger at home ensures a continuous supply of aromatic, flavorful rhizomes for your cooking and health needs.
Step 1: Selecting the Right Ginger Rhizomes
- Choose healthy, plump, disease-free ginger rhizomes with visible “eyes” or buds.
- Organic ginger is preferred to reduce the risk of chemical contamination.
- Avoid shriveled, moldy, or damaged rhizomes.
Pro Tip: Fresh, young ginger produces tender and flavorful shoots, ideal for home cooking.
Step 2: Choosing the Right Container
- Size: Use a container at least 12–16 inches deep and 12 inches wide to accommodate the spreading rhizomes.
- Material: Plastic, clay, or ceramic pots work well. Plastic retains moisture, while clay allows aeration.
- Drainage: Ensure the pot has drainage holes to prevent waterlogging.
Pro Tip: Wide containers are better than narrow, as ginger spreads horizontally.
Step 3: Preparing the Soil
Ginger thrives in loose, fertile, well-draining soil.
- Soil Mix:
- 2 parts garden soil or topsoil
- 1 part compost or well-rotted manure
- 1 part sand or cocopeat for aeration and drainage
- pH Level: Slightly acidic to neutral (pH 6.0–6.5) is ideal.
Pro Tip: Adding compost or organic matter enhances nutrient availability and encourages healthy rhizome growth.
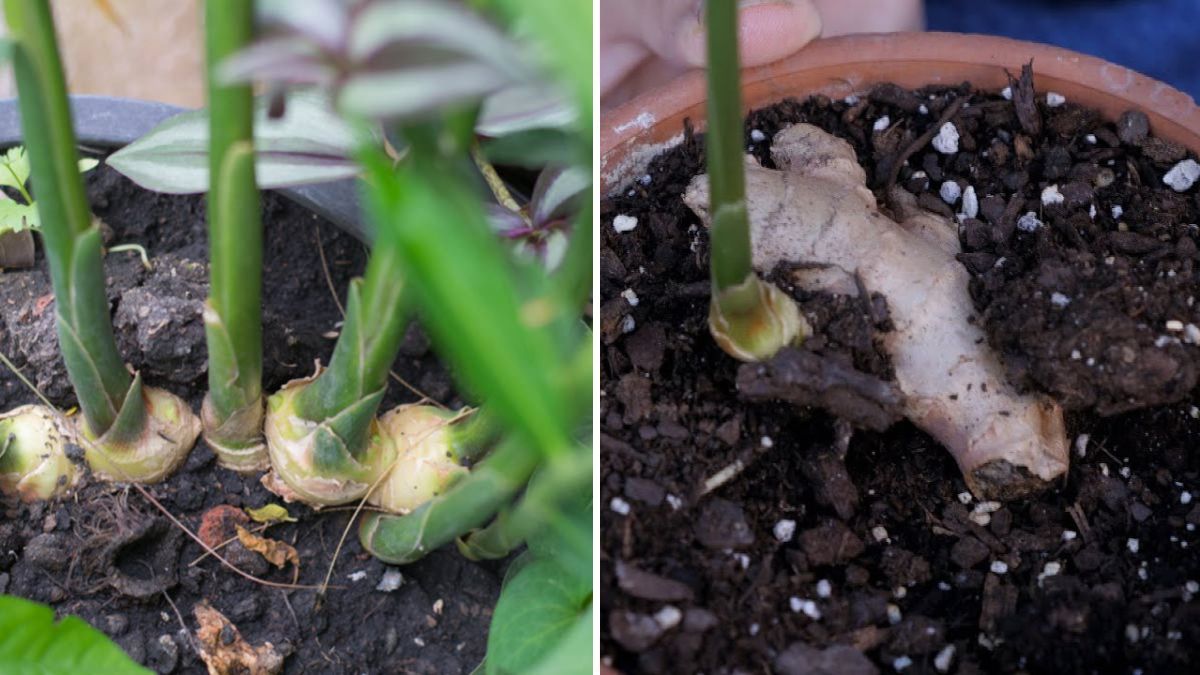
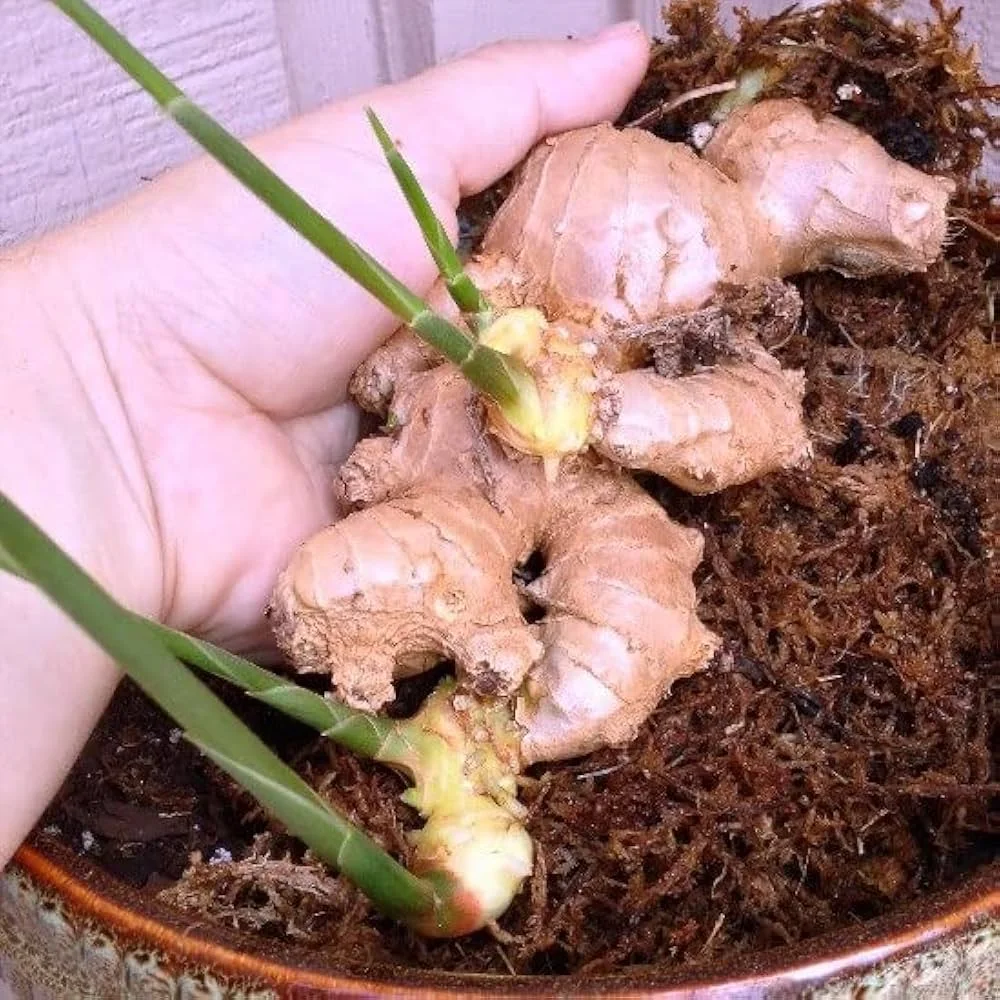
Step 4: Planting Ginger Rhizomes
- Preparation: Cut large rhizomes into pieces, ensuring each piece has 1–2 eyes or buds.
- Soaking: Soak the rhizomes in water for a few hours to encourage sprouting.
- Planting Depth: Place the rhizomes 2–3 inches deep, with buds facing upward.
- Spacing: Keep 4–6 inches between pieces if planting multiple rhizomes in one container.
Pro Tip: Planting in early spring ensures optimal growth as ginger prefers warm, humid conditions.
Step 5: Watering Schedule
- Initial Stage: Water lightly after planting to settle the soil.
- Growing Stage: Keep soil consistently moist but not waterlogged. Water when the top inch of soil feels dry.
- Avoid Overwatering: Excess water can cause root rot and fungal infections.
Pro Tip: Mulching with straw or dry leaves helps retain soil moisture and regulate temperature.
Step 6: Sunlight and Temperature
- Sunlight: Ginger grows best in partial shade to filtered sunlight. Direct, harsh sunlight can scorch leaves.
- Temperature: Prefers warm climates (75–85°F or 24–29°C). Avoid frost or extreme cold.
Pro Tip: Indoors, place containers near bright, indirect light or use grow lights for consistent growth.
Step 7: Fertilization
- Organic Fertilizers: Apply vermicompost, cow dung, or compost tea every 4–6 weeks.
- Balanced Fertilizers: Use a low-nitrogen fertilizer to promote root and rhizome growth rather than leafy growth.
- Avoid Overfertilization: Excess nitrogen encourages excessive leaves at the cost of rhizome development.
Pro Tip: Side-dress with compost periodically to provide continuous nutrients.
Step 8: Caring for Ginger Plants
- Weeding: Keep the soil free from weeds to reduce competition for nutrients.
- Pruning: Remove yellowing or dead leaves to maintain plant health.
- Support: Ginger grows low to the ground, so staking is generally not required, but taller varieties may need slight support.
- Pest Control: Watch for aphids, mites, and fungal infections. Neem oil or organic pesticides can be used if needed.
Pro Tip: Regular inspection prevents minor problems from becoming major issues.
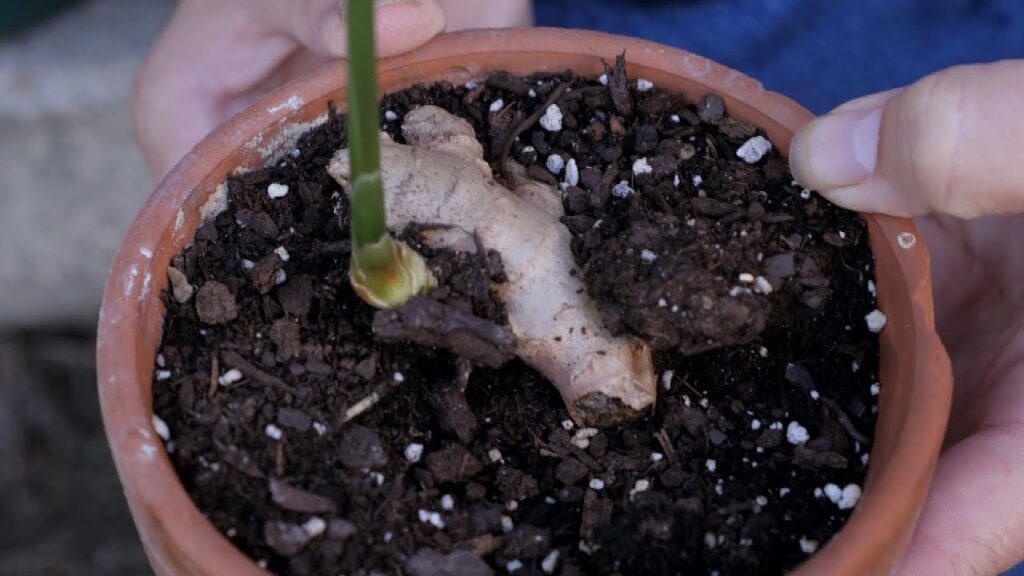
Step 9: Growth Timeline
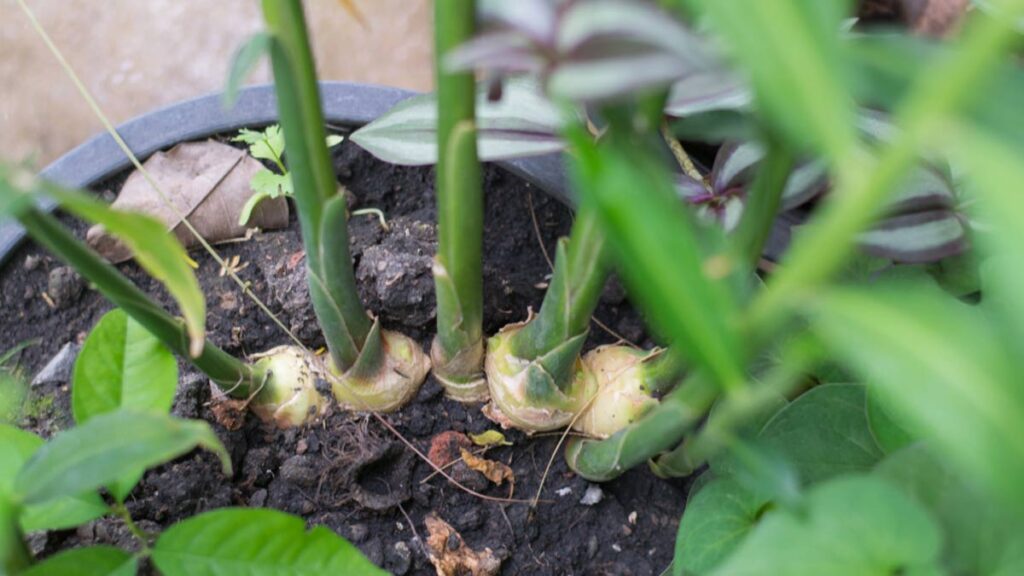
- Month 1–2: Rhizomes sprout, and leafy shoots emerge. Focus on watering, sunlight, and soil care.
- Month 3–5: Leafy growth intensifies; roots develop extensively. Fertilize to support rhizome formation.
- Month 6–8: Rhizomes thicken, leaves may reach 18–24 inches. Continue care and avoid stress.
- Month 8–10: Ginger is ready for partial harvest if desired, or continue growing for full maturity.
- Month 10–12: Rhizomes fully mature; leaves begin to yellow. Harvest entire rhizomes carefully.
Pro Tip: Ginger can be harvested young for tender shoots or left to mature for larger rhizomes.
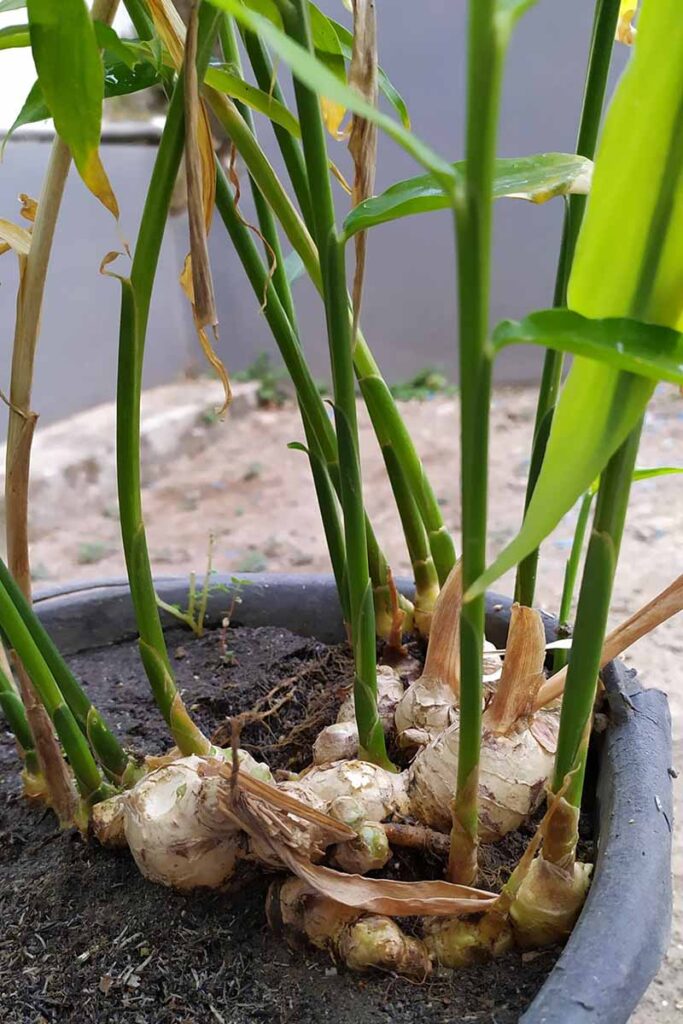
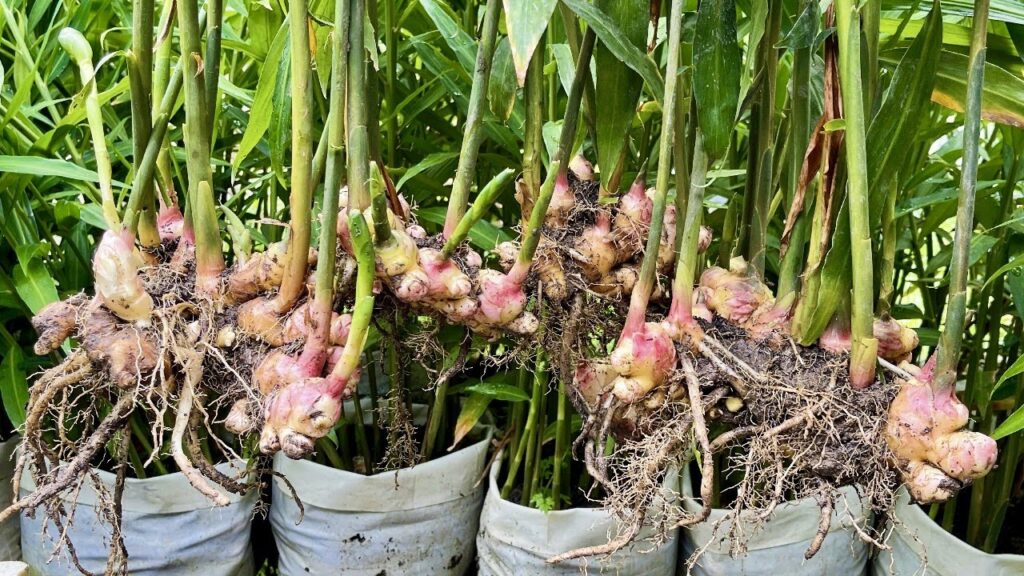
Step 10: Harvesting Ginger
- Indicators: Mature ginger leaves start turning yellow and dry. Rhizomes are thick and firm.
- Method: Carefully lift the entire plant from the soil, shake off excess soil, and cut rhizomes for use.
- Storage: Fresh ginger can be stored in the refrigerator or dried for long-term use.
Pro Tip: Always leave a portion of rhizome with buds in the soil if you want to regrow another crop.
Benefits of Growing Ginger at Home
- Health Benefits: Anti-inflammatory, boosts immunity, improves digestion, and adds flavor to food.
- Economic: Reduces grocery costs with continuous supply.
- Eco-Friendly: Home cultivation reduces packaging waste and transport impact.
- Therapeutic Gardening: Engaging in container gardening reduces stress and promotes mindfulness.
Pro Tip: Growing your own ginger ensures chemical-free, fresh produce right at your doorstep.
Common Mistakes to Avoid
- Overwatering: Leads to root rot and fungal infections.
- Planting Shallowly: Rhizomes require 2–3 inches of soil to develop properly.
- Excess Nitrogen: Encourages leafy growth, reducing rhizome quality.
- Ignoring Mulching: Soil dries out quickly without mulch.
- Harvesting Too Early: Young rhizomes may lack flavor and size.
Pro Tip: Maintain consistency in watering, fertilization, and sunlight for the best results.
Conclusion
Growing ginger in containers is easy, cost-effective, and highly rewarding. From selecting healthy rhizomes, preparing soil, providing sunlight and water, to harvesting mature rhizomes, container-grown ginger gives fresh, organic, and aromatic produce year-round.
With proper care, patience, and attention to detail, you can enjoy continuous yields of flavorful ginger, whether for cooking, tea, or medicinal purposes. Container gardening allows even urban dwellers with limited space to grow this versatile plant, turning your balcony, terrace, or indoor area into a productive mini-garden.
Start your container-grown ginger today and enjoy the aroma, flavor, and health benefits of homegrown ginger, fresh from your own hands.