Celery is a crunchy, nutrient-rich vegetable that adds flavor, texture, and health benefits to salads, soups, and stews. Although often considered tricky to grow, celery can be successfully cultivated at home with the right guidance. By following this complete seed-to-harvest guide, you can enjoy fresh, homegrown celery while controlling its quality and flavor.
Why Grow Celery at Home?
Growing celery at home has many advantages:
- Freshness and Flavor: Homegrown celery is crisp, tender, and more flavorful than store-bought varieties.
- Cost-Effective: Celery plants are expensive in stores, and growing your own saves money.
- Control Over Pesticides: Grow organic celery without harmful chemicals.
- Nutritional Benefits: Celery is rich in vitamins A, C, and K, and contains antioxidants and fiber.
- Gardening Satisfaction: Nurturing celery from seed to harvest is rewarding and educational.
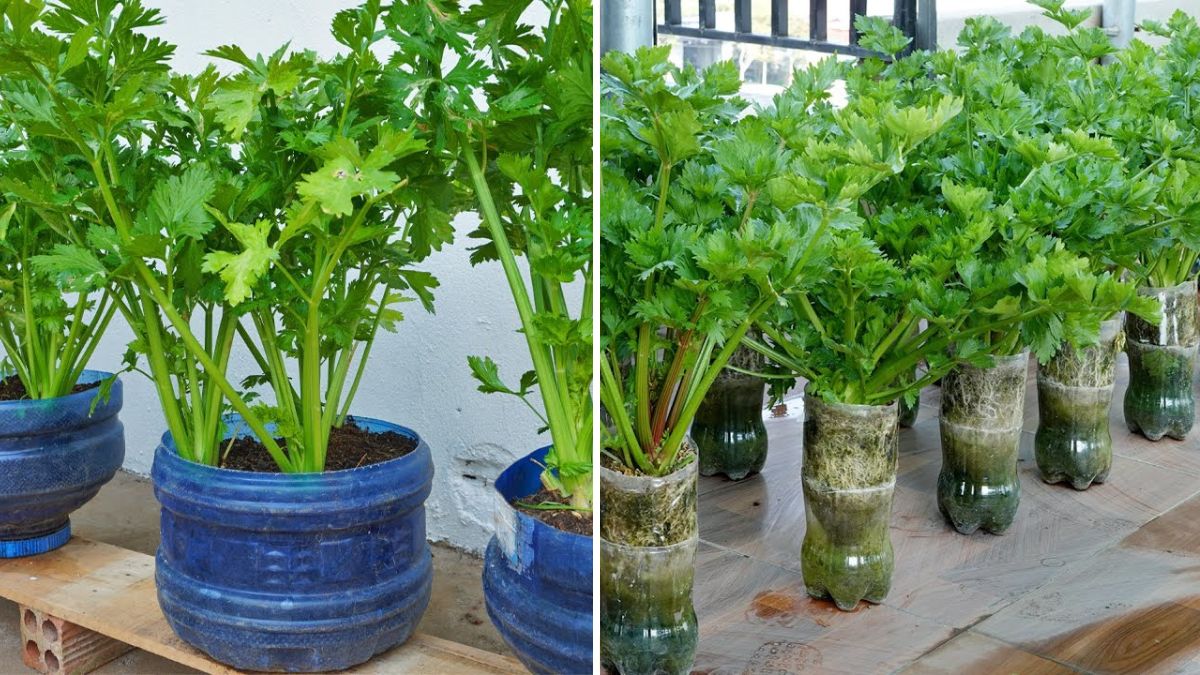
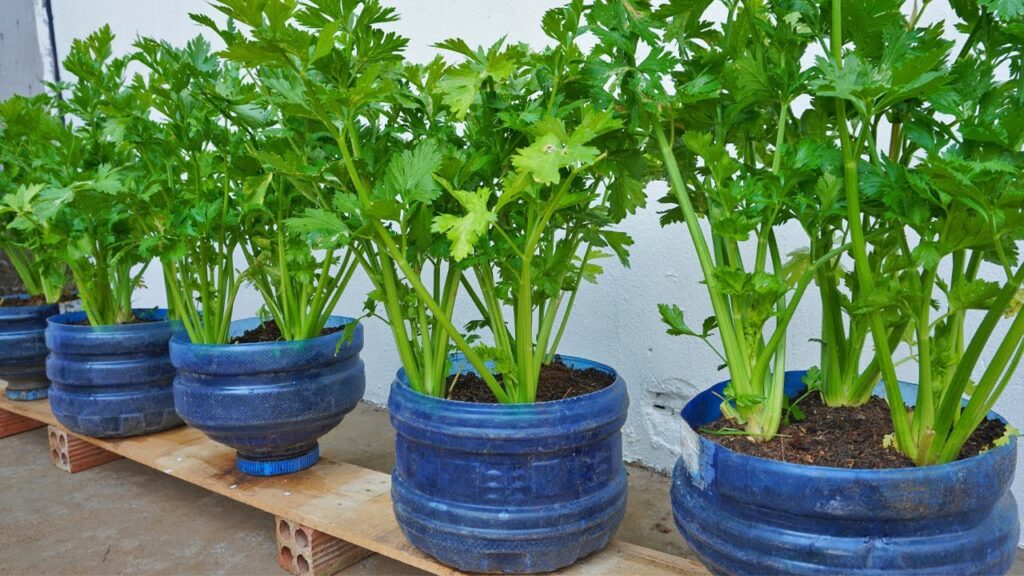
Celery can thrive in gardens, raised beds, or containers, making it suitable for both large and small spaces.
Materials Needed to Grow Celery
To grow celery successfully, you will need:
- Celery seeds (preferably fresh and high-quality)
- Seed trays, small pots, or containers
- Nutrient-rich, well-draining soil
- Fertilizer (organic or balanced NPK)
- Mulch to retain soil moisture
- Watering can or spray bottle
Optional: Grow lights if natural sunlight is insufficient.
Step 1: Selecting Celery Seeds
Celery varieties are broadly classified as:
- Pascal Celery: Popular, thick-stalked, ideal for fresh consumption.
- Golden Self-Blanching: Requires less effort to blanch stalks for mild flavor.
- Leaf Celery: Grown primarily for leaves rather than stalks, often used in soups and garnishes.
Choose a variety suited to your growing conditions and culinary preferences.
Step 2: Preparing Seeds and Seedlings
Celery seeds are tiny and require careful preparation:
- Soak Seeds (Optional): Soaking seeds in water for 24 hours can improve germination rates.
- Use Seed-Starting Mix: Fill seed trays or small pots with fine, well-draining seed-starting soil.
- Sow Seeds Lightly: Sprinkle seeds on the soil surface; do not cover them completely as they require light to germinate.
- Maintain Moisture: Mist lightly with water to keep the soil evenly moist.
Tip: Celery seeds can take 2-3 weeks to germinate, so patience is essential.
Step 3: Providing the Right Conditions
Celery prefers cool temperatures and consistent moisture:
- Temperature: 15-21°C (60-70°F) is ideal for seedling growth.
- Light: Provide 12-16 hours of bright light daily. Use grow lights if sunlight is limited.
- Humidity: Keep soil covered with a clear plastic dome or plastic wrap to retain humidity.
Tip: Avoid letting the soil dry out, as celery seedlings are very sensitive to drought.
Step 4: Transplanting Seedlings
Seedlings are ready to transplant when they develop 3-4 true leaves:
- Harden Off Seedlings: Gradually expose seedlings to outdoor conditions for 5-7 days.
- Prepare the Planting Site: Use well-draining soil enriched with compost or aged manure.
- Space Plants Properly: Space celery plants 8-10 inches apart in rows 12-18 inches apart.
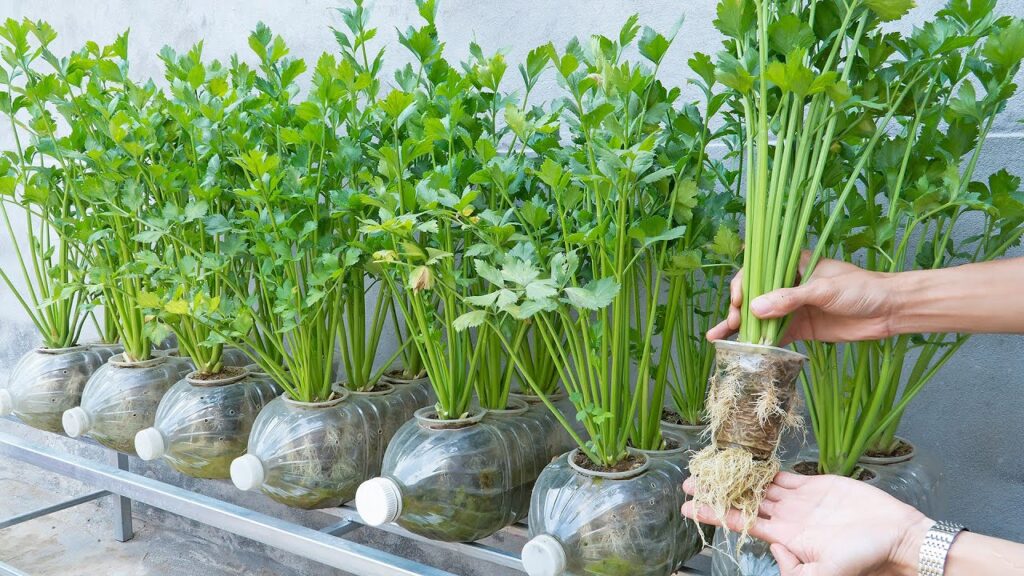
- Plant Depth: Ensure the crown is at soil level and firm the soil gently around roots.
Tip: Mulch around young plants to retain moisture and prevent weeds.
Step 5: Watering and Soil Care
Celery requires consistent moisture for optimal growth:
- Water deeply 2-3 times per week or more frequently during hot weather.
- Keep soil evenly moist but avoid waterlogging.
- Mulching with straw, leaves, or coconut coir helps maintain soil moisture.
Tip: Celery develops stringy or tough stalks if water stress occurs, so regular watering is critical.
Step 6: Fertilizing Celery
Celery is a heavy feeder, so regular fertilization ensures strong, tender stalks:
- Use a balanced fertilizer (NPK 10:10:10) or organic options like compost tea.
- Apply fertilizer every 3-4 weeks during the growing season.
- Avoid over-fertilizing with nitrogen, as excessive leafy growth can reduce stalk quality.
Tip: Side-dress plants with compost midway through growth for extra nutrients.
Step 7: Managing Sunlight and Temperature
Celery thrives in full sun to partial shade:
- Minimum 6 hours of sunlight is ideal.
- In hot climates, partial shade prevents leaf scorch.
- Maintain a consistent temperature to avoid bolting or premature flowering.
Tip: In regions with hot summers, consider planting celery in early spring or fall.
Step 8: Pest and Disease Management
Celery is prone to certain pests and diseases:
- Common Pests: Aphids, slugs, leaf miners. Use neem oil, diatomaceous earth, or hand-pick pests.
- Diseases: Early blight, leaf spot, and Fusarium wilt. Rotate crops annually and ensure proper spacing for airflow.
- Preventive Measures: Avoid overhead watering and remove affected leaves promptly.
Tip: Companion planting with onions, garlic, or marigolds can help repel pests naturally.
Step 9: Blanching (Optional)
Blanching celery stalks produces tender, pale-colored stalks:
- Hill soil around the base of plants when they are 6-8 inches tall.
- Alternatively, wrap stalks with paper or cardboard to block light.
- Blanching enhances flavor and texture for culinary use.
Tip: Leaf celery and some self-blanching varieties may not require this step.
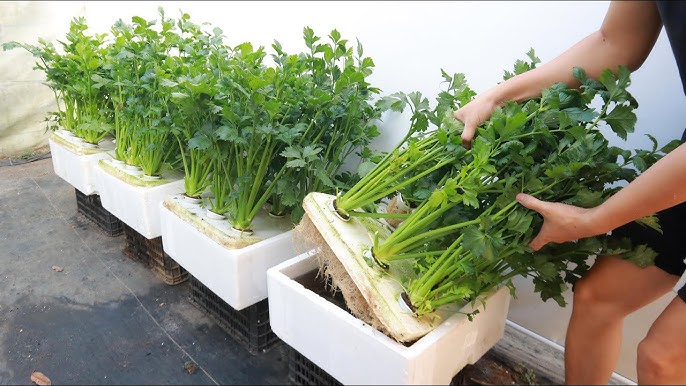
Step 10: Harvesting Celery
- Celery is ready to harvest 80-120 days after transplanting, depending on variety.
- Harvest outer stalks first, leaving inner stalks to continue growing.
- Cut stalks near the base with a sharp knife.
- Harvest in the morning for maximum crispness and flavor.
Tip: Regular harvesting encourages continuous growth and prevents over-mature, tough stalks.
Step 11: Extending the Growing Season
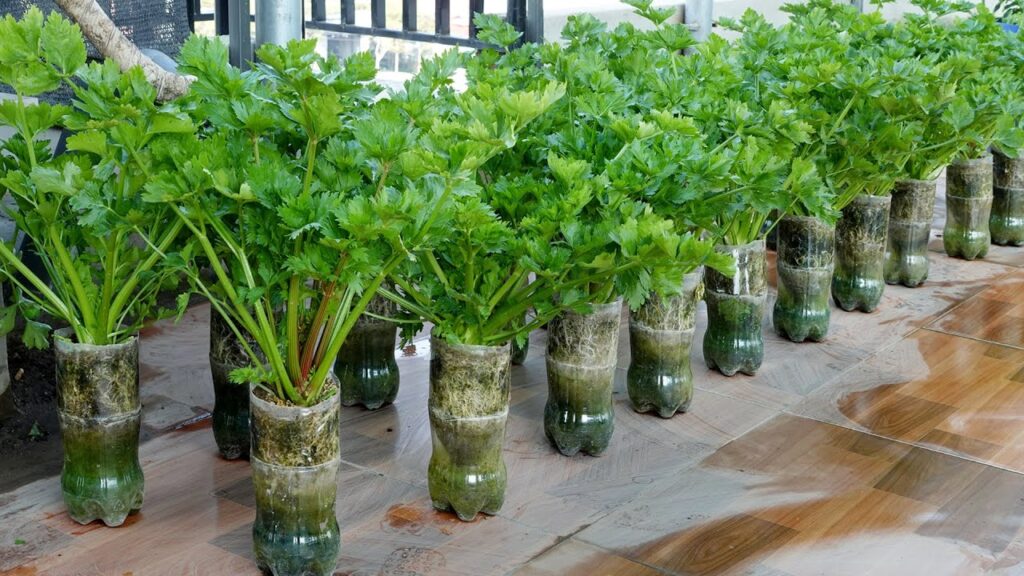
- Grow celery in containers to move indoors during colder months.
- Use row covers, plastic tunnels, or greenhouses in early spring or late fall to protect plants.
- Maintain soil moisture and fertilization to support extended growth.
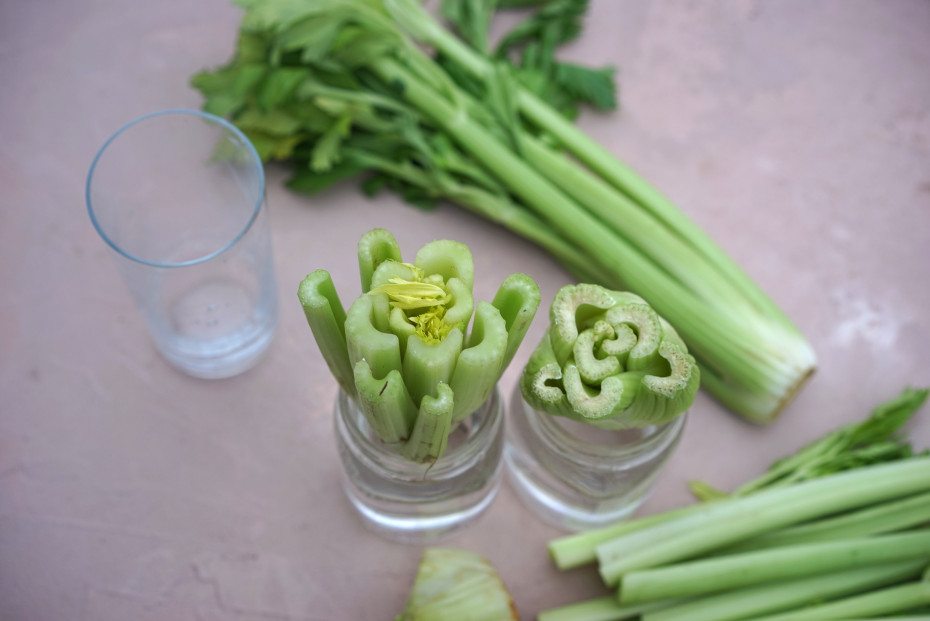
Step 12: Seed Saving and Propagation
- Let a few plants flower in the second year to collect seeds for future crops.
- Cut back old plants and compost debris to maintain garden health.
- Celery can also be propagated from base cuttings in water for continuous harvest.
Conclusion
Growing celery from seed requires patience, consistent care, and attention to soil, water, and sunlight. From preparing seeds and seedlings to transplanting, fertilizing, and harvesting, every step contributes to healthy, crisp, and flavorful stalks.
By following this complete guide, you can enjoy fresh, homegrown celery without the cost and chemical exposure of store-bought varieties. Whether grown in garden beds, raised containers, or pots, celery can be a highly rewarding crop, adding both nutrition and beauty to your home garden.
With proper care, patience, and a little practice, celery from seed can become a staple in your kitchen, providing a continuous supply of crisp, tasty stalks for salads, soups, juices, and more. From seed to harvest, growing celery at home is a truly satisfying gardening journey.