Strawberries are among the most delightful and rewarding fruits to grow at home. Their sweet, juicy flavor, combined with vibrant red color, makes them a favorite for desserts, smoothies, and even fresh snacking. While many gardeners buy strawberry plants, growing strawberries from seed offers the satisfaction of nurturing the plant from its very beginning. This comprehensive guide will take you through everything you need to know to grow strawberries from seed to harvest.
Why Grow Strawberries from Seed?
Growing strawberries from seed may require patience, but it comes with several benefits:
- Cost-Effective: A small packet of seeds can yield many plants.
- Variety Selection: You can grow unique or heirloom varieties not commonly available as seedlings.
- Satisfaction: Watching tiny seeds grow into fruit-bearing plants is a rewarding gardening experience.
- Control: Starting from seed allows you to manage soil quality, watering, and pesticide-free cultivation.
With proper care, seeds can grow into healthy strawberry plants that produce delicious fruits for years.
Materials Needed to Grow Strawberries from Seed
To successfully grow strawberries from seed, you will need:
- Strawberry seeds (fresh and high-quality)
- Seed-starting trays, pots, or containers
- Fine, well-draining seed-starting soil
- Clear plastic cover or plastic wrap
- Spray bottle for gentle watering
- Fertilizer (optional for seedlings)
Optional: Grow lights if natural sunlight is limited.
Step 1: Preparing Strawberry Seeds
Strawberry seeds are tiny and delicate. Preparing them correctly improves germination rates:
- Cold Stratification (Optional but Recommended):
- Place seeds in a damp paper towel inside a zip-lock bag.
- Refrigerate for 2-4 weeks to simulate winter conditions.
- This process improves germination rates for many varieties.
- Seed Handling:
- Handle seeds gently and avoid losing them, as they are very small.
- Some gardeners soak seeds briefly in water to soften the seed coat before planting.
Tip: Fresh seeds have the highest germination rates. Check the expiration date on seed packets.
Step 2: Choosing the Right Containers and Soil
Strawberry seeds need shallow trays or small pots for starting.
- Use seed-starting trays with small cells or shallow containers.
- Fill with fine, well-draining soil, free from clumps. A seed-starting mix is ideal.
- Avoid using garden soil directly, as it may be too dense or contain pathogens.
Tip: Ensure containers have proper drainage holes to prevent waterlogging.
Step 3: Planting Strawberry Seeds
Strawberry seeds are tiny and require careful planting:
- Sprinkle seeds lightly on the surface of moist soil.
- Do not cover seeds completely; they need light to germinate.
- Mist gently with a spray bottle to moisten the soil without washing away seeds.
- Cover trays with clear plastic or a plastic dome to maintain humidity.
Tip: Keep soil consistently moist but not soggy. Overwatering can cause seeds to rot.
Step 4: Germination and Seedling Care
Strawberry seeds usually germinate within 1-6 weeks, depending on variety and conditions.
- Temperature: Keep seeds in a warm environment (around 20-25°C / 68-77°F).
- Light: Provide bright, indirect light for at least 12-16 hours per day. Use grow lights if sunlight is insufficient.
- Ventilation: Remove the plastic cover occasionally to prevent mold growth.
- Thinning: Once seedlings develop their first true leaves, thin weaker ones to give stronger seedlings space to grow.
Tip: Patience is key; strawberry seeds germinate slowly, so don’t give up if they take several weeks.
Step 5: Transplanting Seedlings
Once seedlings have 2-3 sets of true leaves, they are ready to be transplanted into larger pots or garden beds:
- Harden off seedlings by gradually exposing them to outdoor conditions for 5-7 days.
- Prepare planting sites with nutrient-rich, well-draining soil.
- Space seedlings 8-12 inches apart in garden beds or containers.
- Plant so the crown (the central growing point) is at soil level.
Tip: Avoid burying the crown too deep, as this can lead to rot.
Step 6: Watering and Fertilization
Strawberries prefer consistently moist soil but are sensitive to waterlogging:
- Water regularly, especially during dry spells, to keep the soil evenly moist.
- Mulch around plants to retain moisture, reduce weeds, and protect fruit from soil contact.
- Fertilize lightly after 4-6 weeks using a balanced fertilizer or compost. Over-fertilization can reduce fruit quality.
Tip: Water at the base of the plants rather than overhead to minimize fungal issues.
Step 7: Sunlight Requirements
Strawberries thrive in full sun, ideally 6-8 hours per day.
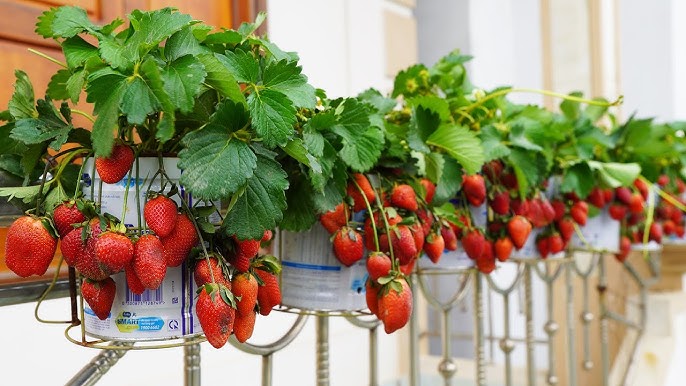
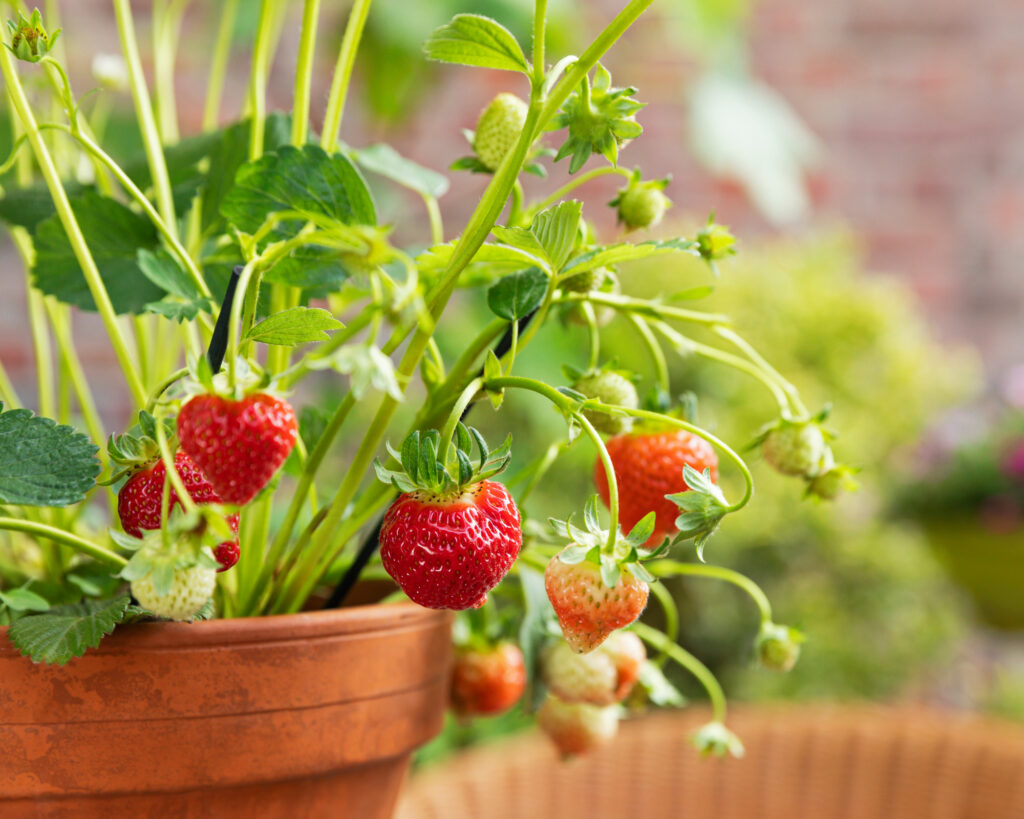
- Choose sunny garden beds or balconies for containers.
- Partial shade can be tolerated, but yields will be lower, and fruits may be less sweet.
Tip: If growing indoors, supplement with grow lights to provide sufficient light intensity for flowering and fruiting.
Step 8: Supporting Flowering and Fruiting
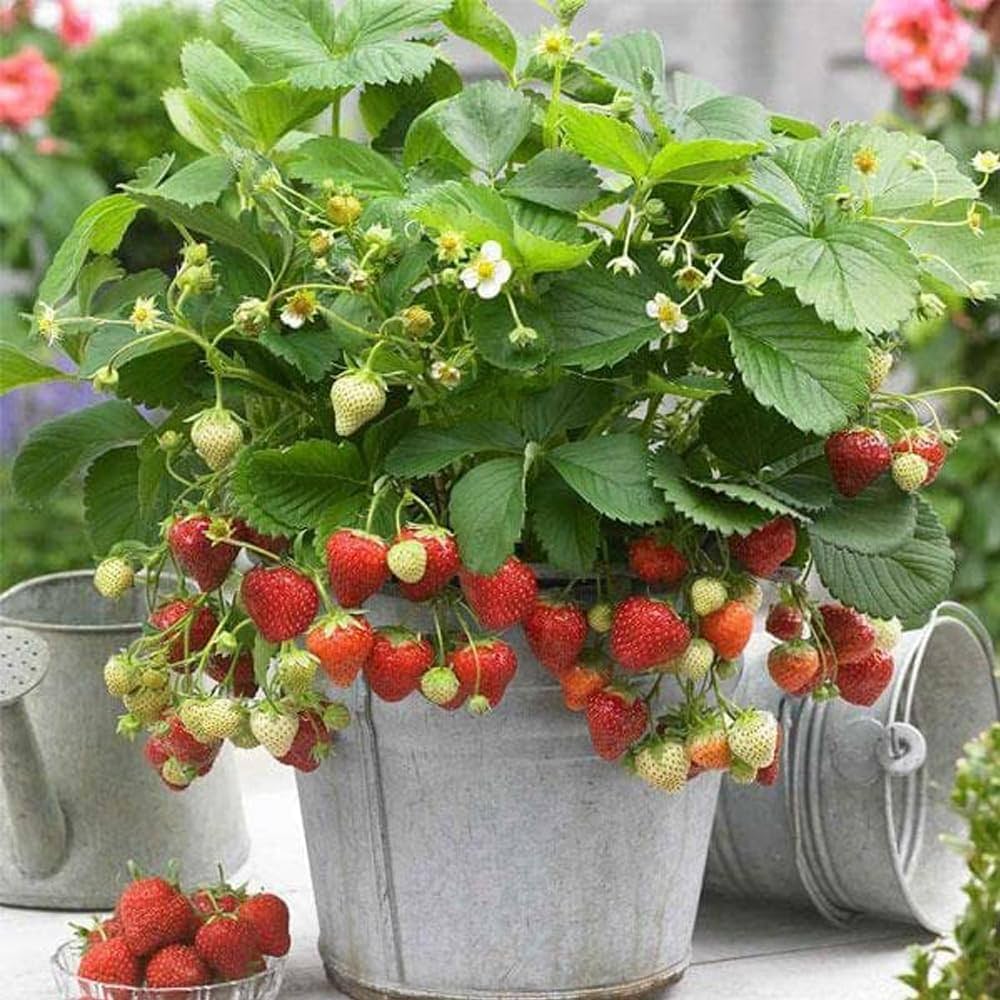
Once seedlings mature, they will produce flowers that develop into fruit:
- Remove runners (long stems that develop new plants) during the first growing season to allow the plant to focus on fruit production.
- Pollination is necessary for fruit development. Outdoor plants usually get pollinated by bees, while indoor plants may require hand-pollination using a small brush.
Tip: Avoid excessive fertilizer at this stage, as too much nitrogen encourages leaves over flowers.
Step 9: Pest and Disease Management
Strawberries are prone to pests and fungal diseases:
- Common pests: Aphids, slugs, spider mites. Control naturally with neem oil, diatomaceous earth, or manual removal.
- Fungal issues: Powdery mildew, gray mold, and leaf spot. Ensure good airflow, proper spacing, and avoid wetting leaves when watering.
Tip: Mulching with straw or coconut coir can protect fruits from soil-borne pathogens.
Step 10: Harvesting Strawberries
- Strawberries are ready to harvest 4-6 weeks after flowering, when fruits turn bright red.
- Pick fruits gently by holding the stem above the berry and twisting slightly.
- Regular harvesting encourages more fruit production.
Tip: Harvest in the morning for the best flavor and shelf life.
Step 11: Extending the Growing Season
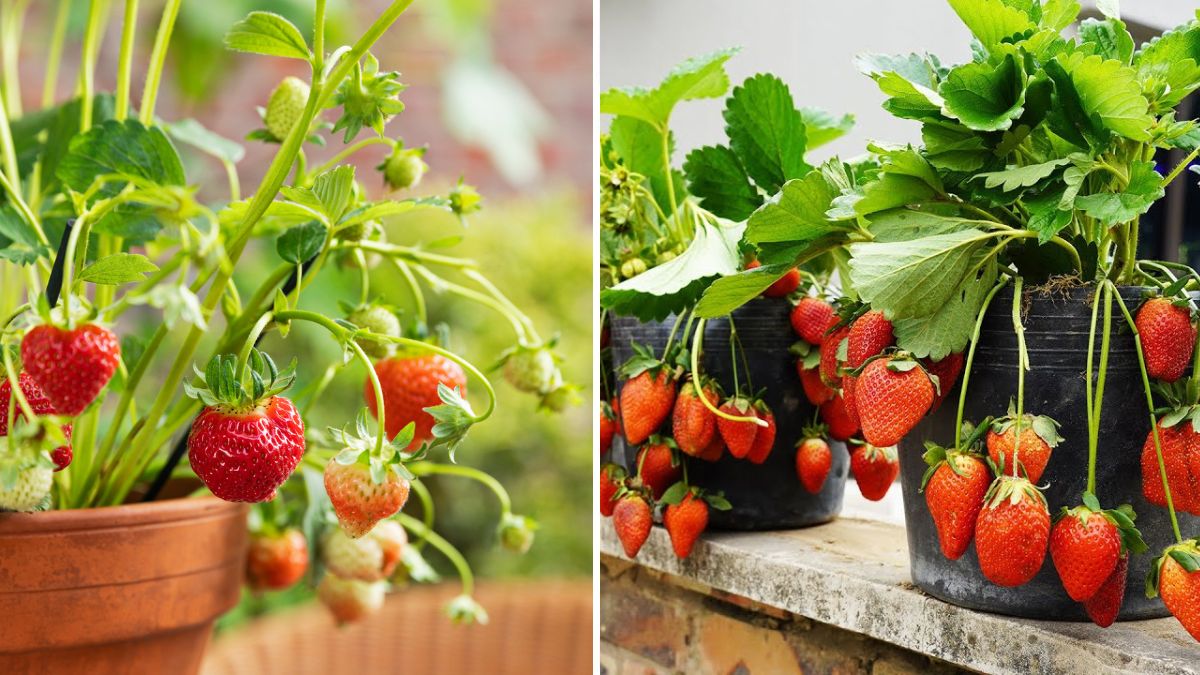
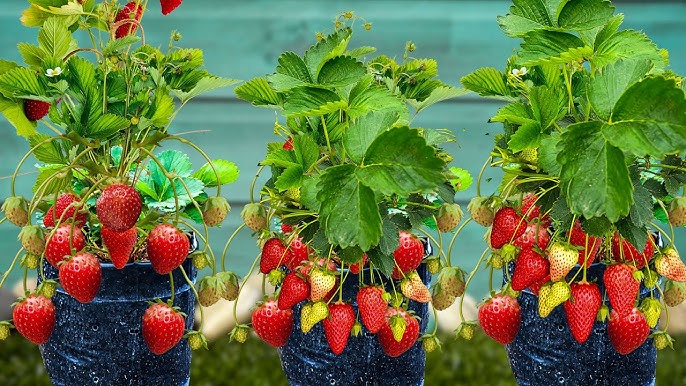
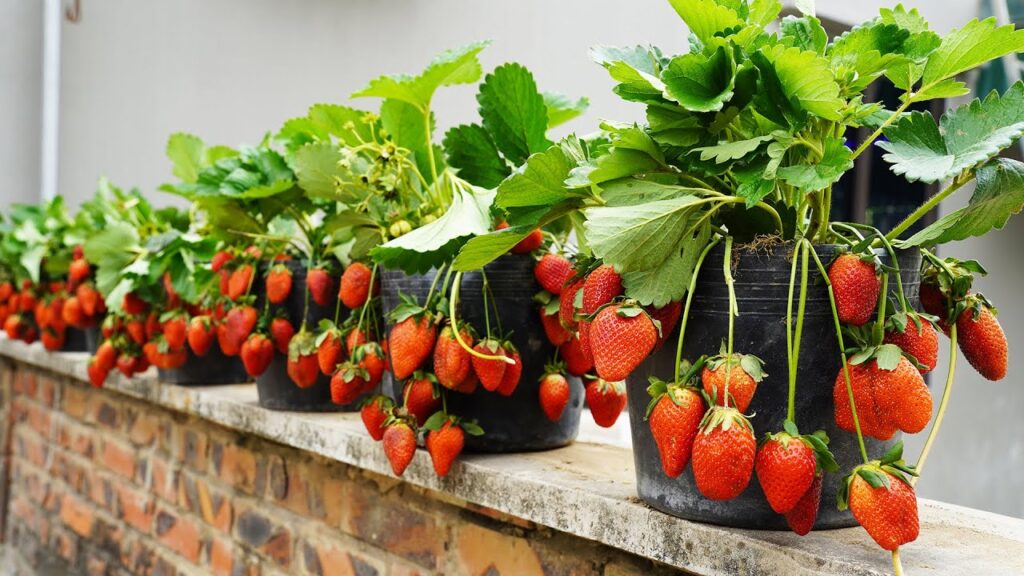
- Use containers to move plants indoors during colder months.
- Cover outdoor plants with row covers or plastic tunnels to protect from frost.
- Renovate beds annually by removing old leaves and replacing mulch to maintain healthy plants.
Step 12: Propagating for Future Seasons
- Allow some runners to develop in the second year to propagate new plants.
- Rooted runners can be transplanted into new beds or containers.
- Growing strawberries from seed ensures a continuous supply of healthy plants for future seasons.
Conclusion
Growing strawberries from seed is a rewarding gardening journey that combines patience, care, and skill. From preparing seeds and germinating seedlings to transplanting, watering, fertilizing, and harvesting, each step contributes to a bountiful crop of delicious, juicy strawberries.
By following this complete guide, even beginners can enjoy fresh strawberries at home, free from chemicals and full of flavor. With consistent care and attention, your strawberry plants will produce fruit for several seasons, delighting your family and friends while adding beauty to your garden or balcony.
Whether you’re growing strawberries in pots, raised beds, or a small garden patch, starting from seed gives you control over plant quality, variety selection, and overall success. With patience and dedication, you can enjoy the sweet rewards of your effort—from tiny seeds to plump, red strawberries ready to enjoy!