Dahlias are among the most striking and versatile flowering plants, celebrated for their vibrant colors, varied shapes, and long blooming season. Growing dahlias at home not only beautifies gardens, balconies, or patios but also provides cut flowers for bouquets and arrangements. While many gardeners think dahlias require expert care, the truth is that with proper guidance, growing dahlias can be easy and rewarding. This comprehensive guide will take you through everything you need to know to grow dahlias at home—from planting to harvesting their stunning blooms.
Why Grow Dahlias at Home?
There are numerous reasons why dahlias are a favorite among home gardeners:
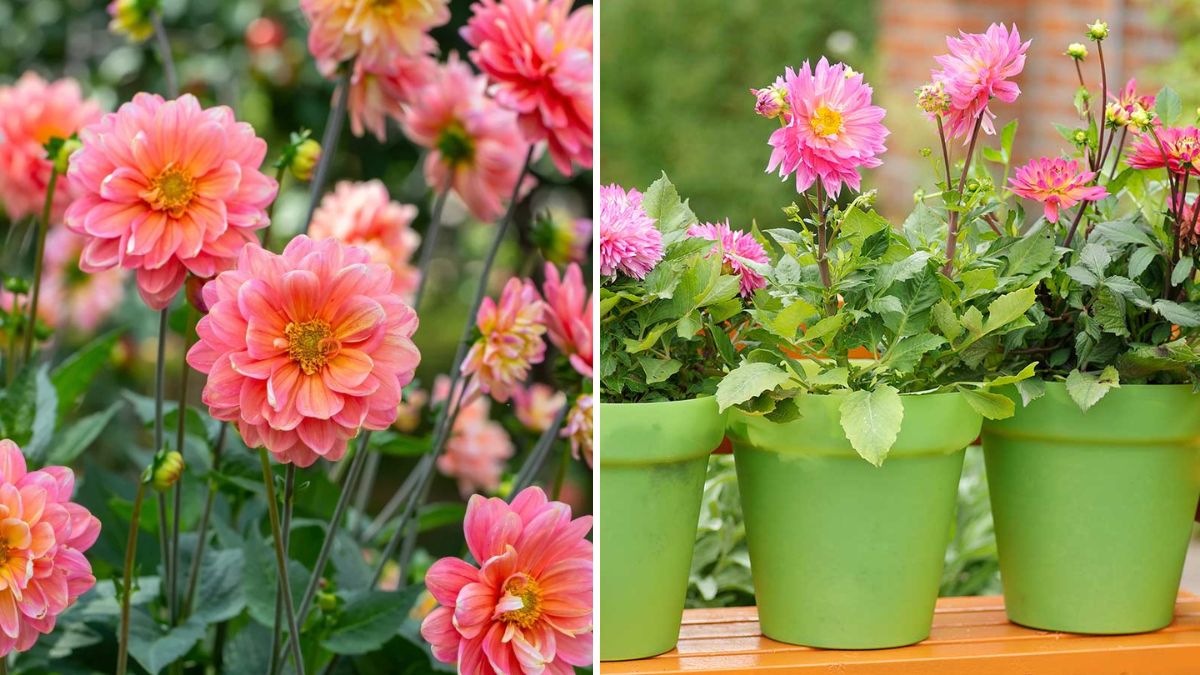
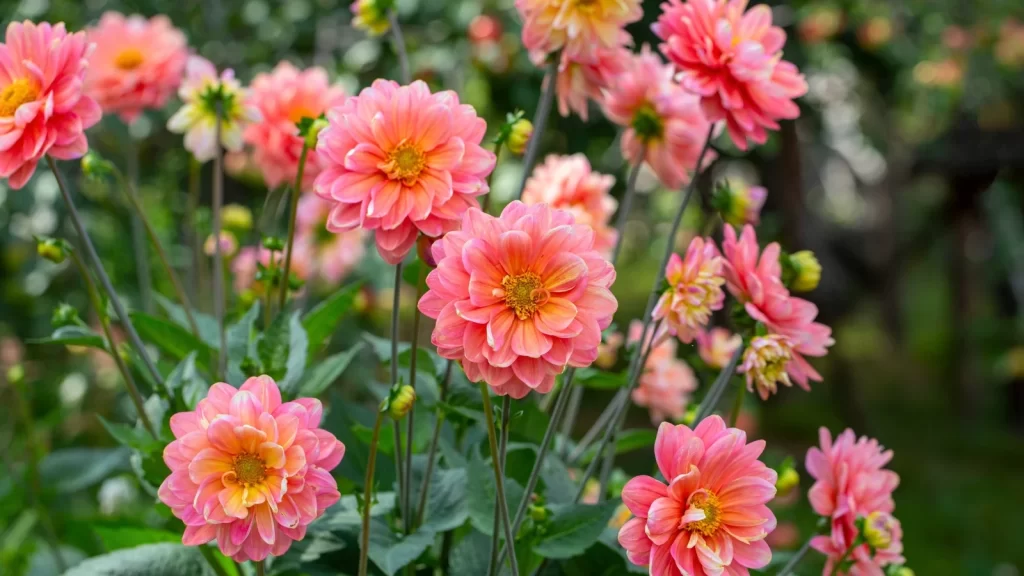
- Aesthetic Appeal: Dahlias produce spectacular flowers in a wide range of colors, sizes, and forms, from tiny pom-poms to large dinner-plate blooms.
- Long Blooming Season: With proper care, dahlias can bloom from summer until the first frost.
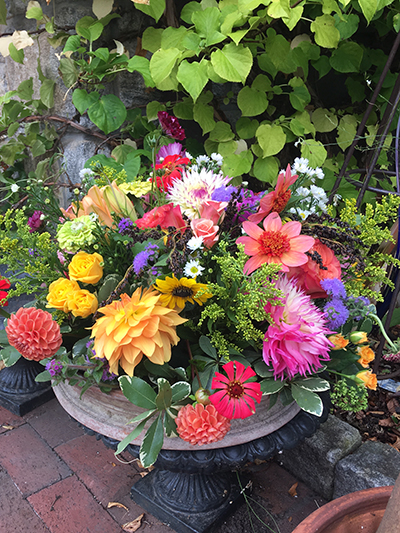
- Cut Flowers: Their long stems make them ideal for vases and floral arrangements.
- Variety: There are over 40,000 registered dahlia cultivars, allowing gardeners to experiment with different colors and forms.
- Easy Propagation: Dahlias can be grown from tubers, seeds, or cuttings.
Whether you’re a beginner or an experienced gardener, growing dahlias is a highly rewarding experience.
Types of Dahlias
Understanding the types of dahlias helps in choosing the right variety for your space and purpose:
- Dinner Plate Dahlias: Large, dramatic blooms up to 12 inches in diameter.
- Pom-Pom and Ball Dahlias: Small, rounded flowers ideal for borders and bouquets.
- Cactus and Semi-Cactus Dahlias: Pointed petals give a spiky, elegant appearance.
- Decorative Dahlias: Fully double flowers with flat or slightly curved petals.
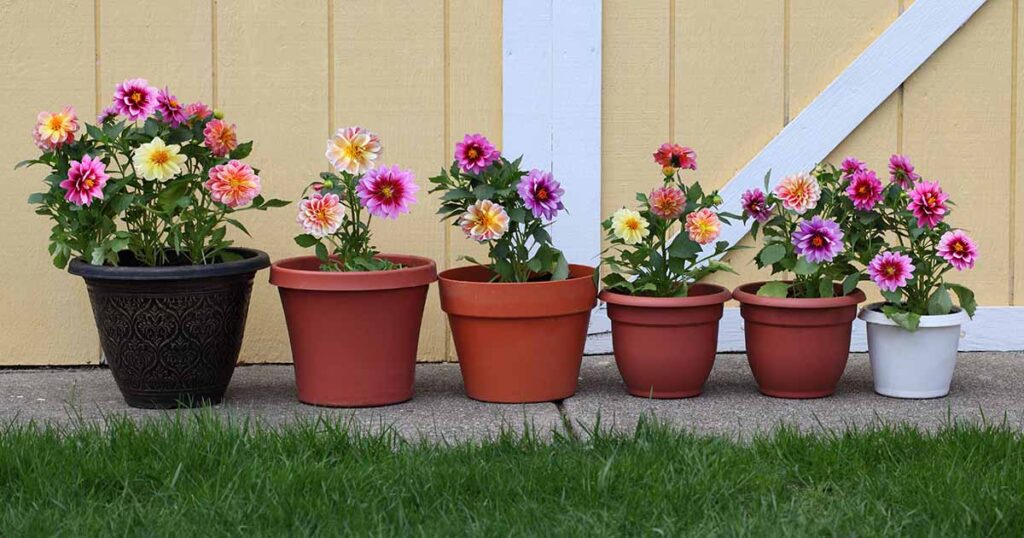
- Dwarf Dahlias: Compact varieties suitable for pots, small gardens, or indoor spaces.
Choose varieties based on available space, aesthetic preferences, and intended use.
Materials Needed to Grow Dahlias
To grow dahlias successfully at home, you will need:
- Healthy dahlia tubers or seeds
- Pots, containers, or garden beds with well-draining soil
- Nutrient-rich soil with compost or organic matter
- Stakes or supports for taller varieties
- Fertilizer (low nitrogen preferred)
- Mulch to retain soil moisture
- Watering can or garden hose
Optional: Row covers or plant ties for protection and support.
Step 1: Preparing Dahlia Tubers for Planting
Dahlias are commonly grown from tubers:
- Inspect Tubers: Choose firm, healthy tubers without signs of rot or mold.
- Pre-Sprouting (Optional): Place tubers in a shallow tray with peat moss or vermiculite in a warm, bright location to encourage sprouting before planting.
- Handle Carefully: Tubers are delicate and can break easily; handle gently to avoid damage.
Tip: Pre-sprouting helps dahlias establish faster once planted in soil.
Step 2: Choosing the Right Location
Dahlias require plenty of sunlight and well-draining soil for optimal growth:
- Sunlight: At least 6-8 hours of direct sunlight daily.
- Soil: Slightly acidic to neutral soil (pH 6.0-7.0) enriched with compost or organic matter.
- Spacing: Leave 18-36 inches between plants depending on the variety to allow good airflow and growth.
Tip: Avoid low-lying areas where water tends to collect, as dahlias are susceptible to rot in waterlogged soil.
Step 3: Planting Dahlia Tubers
Planting tubers correctly ensures strong growth and abundant blooms:
- Dig a hole approximately 6-8 inches deep.
- Place the tuber horizontally with the “eye” or sprout facing upward.
- Cover lightly with soil, leaving the sprout just below the surface.
- Water gently to settle the soil.
Tip: For late-season planting, consider starting tubers indoors in pots to give them a head start.
Step 4: Watering and Soil Care
- Keep soil consistently moist but not waterlogged.
- Water deeply once or twice a week, increasing frequency during dry periods.
- Mulch around plants to retain moisture, suppress weeds, and regulate soil temperature.
Tip: Avoid wetting the leaves when watering to reduce the risk of fungal diseases.
Step 5: Supporting Tall Dahlias

Many dahlia varieties grow tall and require support:
- Insert stakes at planting time to avoid damaging tubers later.
- Tie stems loosely with soft plant ties to prevent breakage.
- Taller dahlias may require multiple stakes or cages for stability.
Tip: Prune lower branches and leaves to improve air circulation and reduce disease risk.
Step 6: Fertilizing Dahlias
- Use low-nitrogen fertilizer (e.g., 5-10-10) to encourage flowers rather than excessive leafy growth.
- Apply fertilizer every 3-4 weeks during the growing season.
- Organic options like compost or well-rotted manure are excellent for promoting healthy blooms.
Tip: Avoid over-fertilization with nitrogen as it produces lush foliage but fewer flowers.
Step 7: Pruning and Deadheading
- Remove spent flowers regularly to encourage continuous blooming.
- Pinch or prune new growth to shape the plant and maintain strength.
- Remove yellowing leaves to prevent disease and promote airflow.
Tip: Deadheading is key to prolonging the flowering season from summer until frost.
Step 8: Pest and Disease Management
- Common Pests: Aphids, spider mites, slugs, and caterpillars. Use natural insecticides or hand-pick pests.
- Fungal Diseases: Powdery mildew and botrytis. Ensure proper spacing, good airflow, and avoid overhead watering.
- Preventive Measures: Rotate planting locations annually and remove plant debris to prevent disease.
Tip: Companion planting with marigolds can help repel pests naturally.
Step 9: Flowering and Harvesting
- Dahlias generally bloom 8-12 weeks after planting, depending on the variety and growing conditions.
- Flowers can be cut for indoor arrangements, leaving at least one-third of the plant intact to continue blooming.
- Harvest flowers in the morning for maximum freshness and longevity.
Tip: Regular harvesting encourages new flower production and keeps plants healthy.
Step 10: Winter Care and Tuber Storage
- In colder climates, dig up tubers before the first frost.
- Clean and dry tubers, then store them in a cool, dark, frost-free location in peat moss or sawdust.
- In mild climates, tubers can remain in the ground with adequate mulch for winter protection.
Tip: Properly stored tubers can be replanted next season for another year of beautiful blooms.
Step 11: Propagation for Future Seasons
- Dahlias can be propagated by dividing tubers or taking stem cuttings.
- Cuttings taken in spring can produce new plants before the main growing season.
- Saving tubers from healthy plants ensures continuity and preserves favorite varieties.
Step 12: Additional Tips for Growing Dahlias at Home
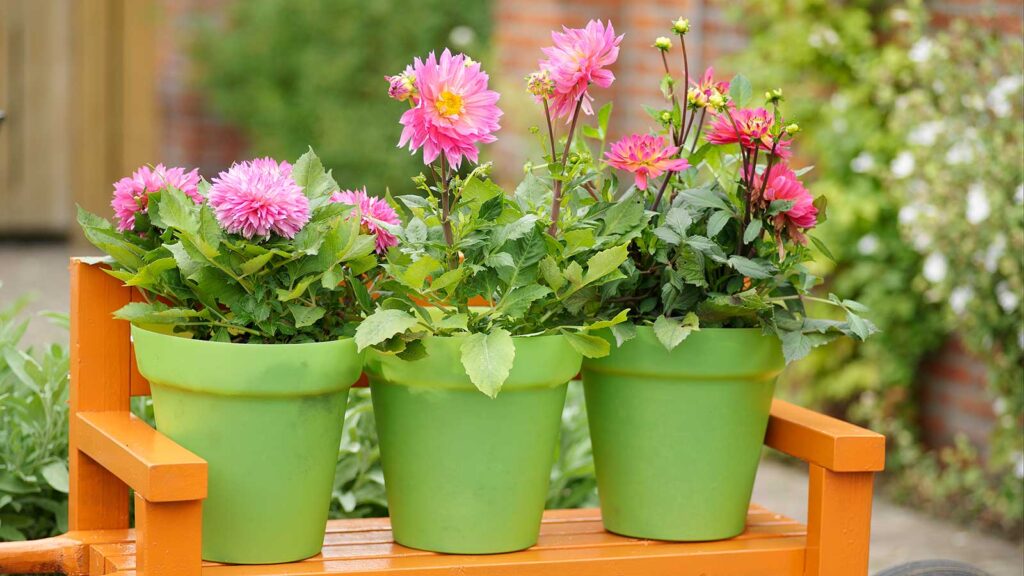
- Container Gardening: Use large pots or raised beds for better drainage and soil control.
- Sunlight Rotation: Turn containers regularly to ensure even sunlight exposure.
- Pollination: While bees usually handle pollination, indoor dahlias may require gentle hand-pollination.
- Flower Varieties: Experiment with different shapes, sizes, and colors for a stunning garden display.
Conclusion
Growing dahlias at home is a rewarding journey from planting tubers to enjoying vibrant blooms. By following this complete guide, gardeners can ensure healthy growth, stunning flowers, and a long blooming season. From selecting the right tubers and planting location to watering, fertilizing, supporting, pruning, and harvesting, each step contributes to the success of your dahlia garden.
Dahlias not only enhance the beauty of any garden but also provide flowers for cut arrangements, making them a versatile and valuable addition to home gardens. With proper care and attention, even beginner gardeners can grow dahlias that thrive year after year, creating a colorful, joyful environment that delights both the eyes and the spirit.