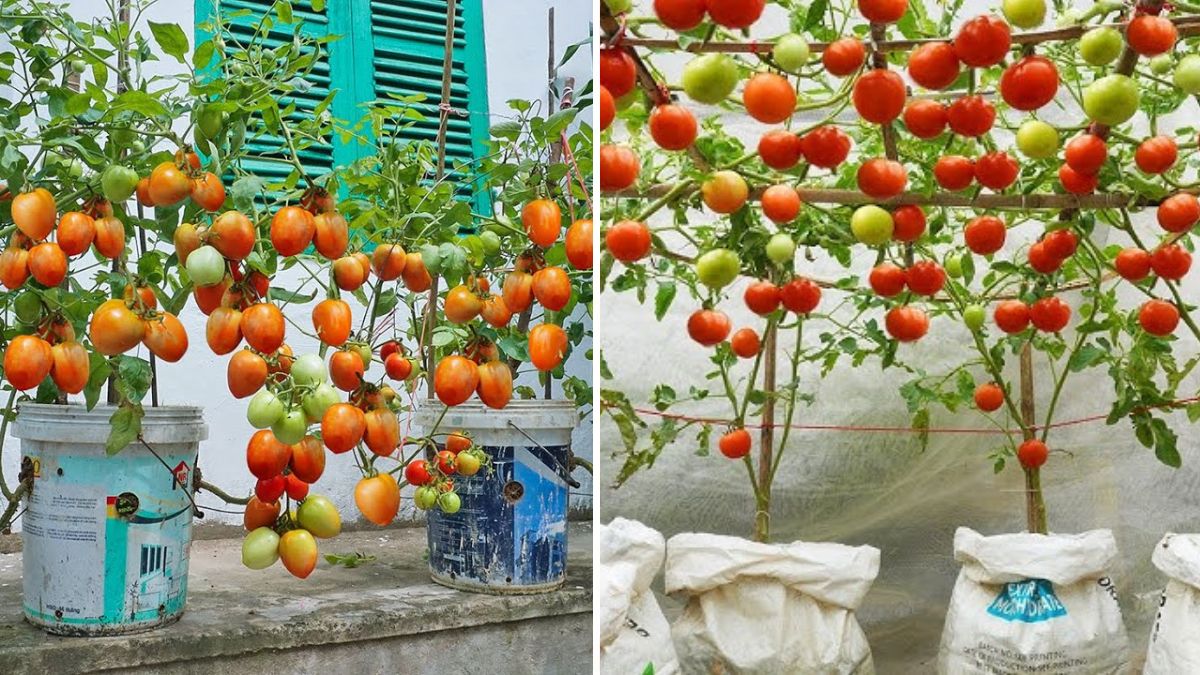
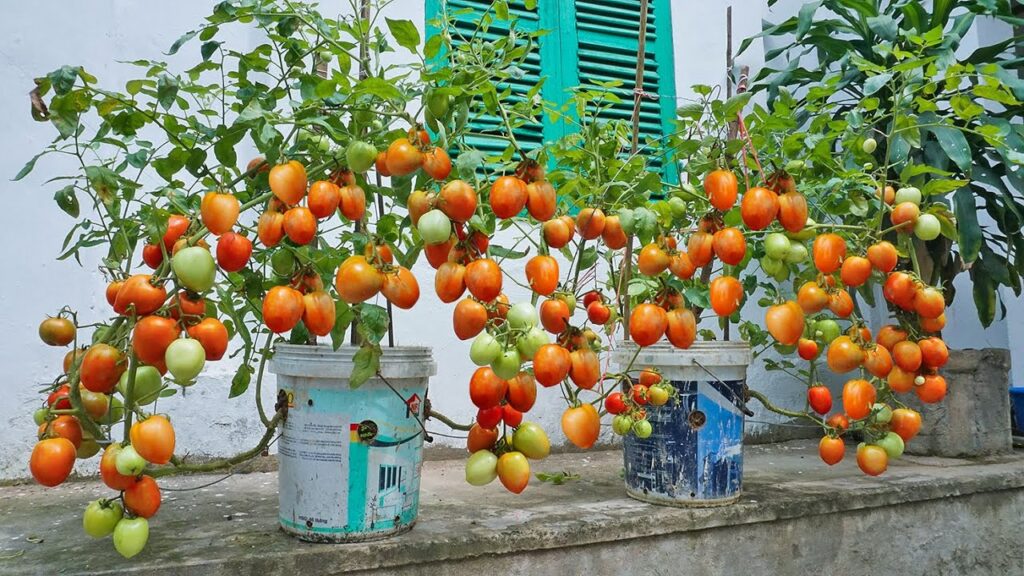
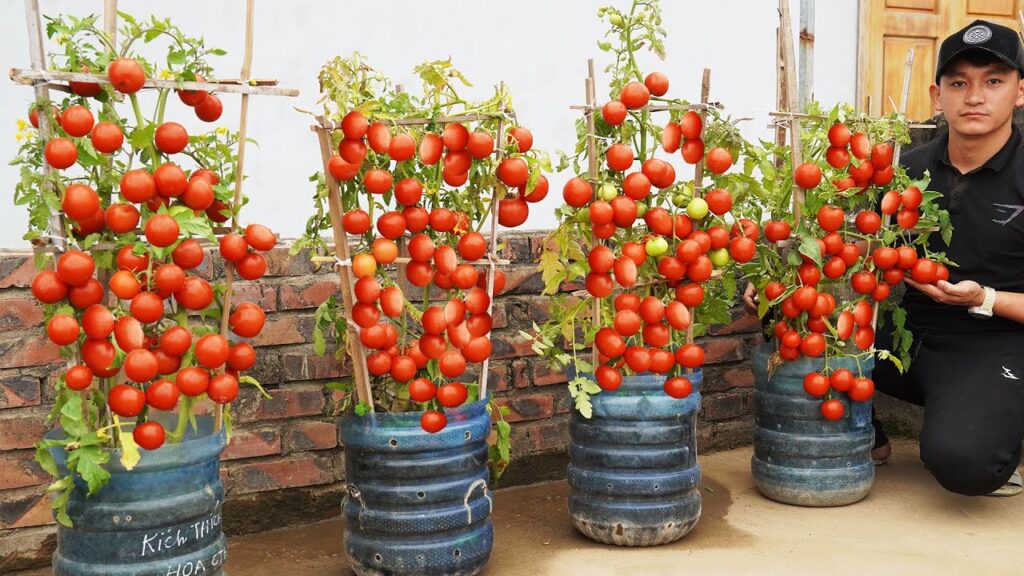
Tomatoes are one of the most rewarding and easy vegetables to grow at home—even if you don’t have a garden! With just a fruit or vegetable crate, a little soil, and some sunlight, you can harvest kg’s of fresh, juicy, organic tomatoes right from your balcony, terrace, or backyard. Growing tomatoes in crates not only saves space but also improves drainage, root aeration, and overall plant growth.
This step-by-step guide will teach you exactly how to grow tomatoes at home using plastic or wooden crates, from seed to harvest, along with pro tips for maximum flowering and fruiting.
🌟 Why Grow Tomatoes in Crates?
Growing tomatoes in crates has several advantages:
✔ Perfect Drainage
Crates have natural airflow gaps which prevent soggy soil and root rot.
✔ Lightweight & Portable
You can easily shift crates to a sunny spot.
✔ Cost-Effective
Old fruit/vegetable crates are cheap and widely available.
✔ Ideal for Small Spaces
Perfect for balconies, rooftops, and small gardens.
🌱 Step 1: Choosing the Right Tomato Seeds
For home gardening, choose varieties that grow well in containers:
- Cherry Tomatoes
- Roma Tomatoes
- Desi Tomato (Desi Tamatar)
- Hybrid Tomato Seeds
Make sure your seeds are fresh for better germination.
🌱 Step 2: Preparing the Crate for Planting
✔ Choose a Crate
Use any:
- Plastic fruit crate
- Wooden vegetable crate
- Milk crate
Make sure it is 12–15 inches deep.
✔ Line the Crate
Since crates have big holes, you must line them:
- Coconut coir sheet
- Thick jute bag
- Gunny bag
- 2–3 layers of newspaper
This prevents soil from falling out.
✔ Create Drainage Layer
Add a 2–3 cm layer of:
- Pebbles
- Broken tiles
- Small stones
This enhances drainage and prevents waterlogging.
🌱 Step 3: Preparing Nutrient-Rich Soil Mix
Tomatoes need a light, fertile, and well-draining potting mix.
Use this perfect recipe:
🌿 Ideal Tomato Soil Mix
- 40% Garden soil
- 30% Cocopeat
- 20% Vermicompost / cow dung compost
- 10% Sand / perlite
Mixing Nutrients
Add the following for healthier growth:
- 1 tbsp Neem cake powder
- 1 tbsp Bone meal
- Small handful Mustard cake powder
This ensures your plant gets all major nutrients.
Fill the entire crate with this mix.
🌱 Step 4: Seed Sowing or Transplanting Seedlings
Option 1: Sow Seeds Directly
- Make shallow holes (0.5 cm deep)
- Place 1–2 seeds in each hole
- Cover lightly with soil
- Mist with water
Option 2: Transplant Seedlings
This gives faster results.
Use 20–25 day old seedlings grown in cups or nursery trays.
Plant only 1 tomato plant per crate for best fruiting.
🌤️ Step 5: Sunlight Requirements

Tomatoes love sunshine.
✔ Provide 6–7 hours of direct sunlight
More sunlight = more flowers = more tomatoes.
Place the crate:
- On terrace
- Near balcony railing
- In an open bright spot
💧 Step 6: Watering the Tomato Plant
Tomatoes dislike overwatering.
Follow this rule:
Water only when the top 1 inch of soil looks dry.
Use a mug or watering can, not a hose, as heavy water pressure damages roots.
In summer: Water daily
In winter: Every 2–3 days
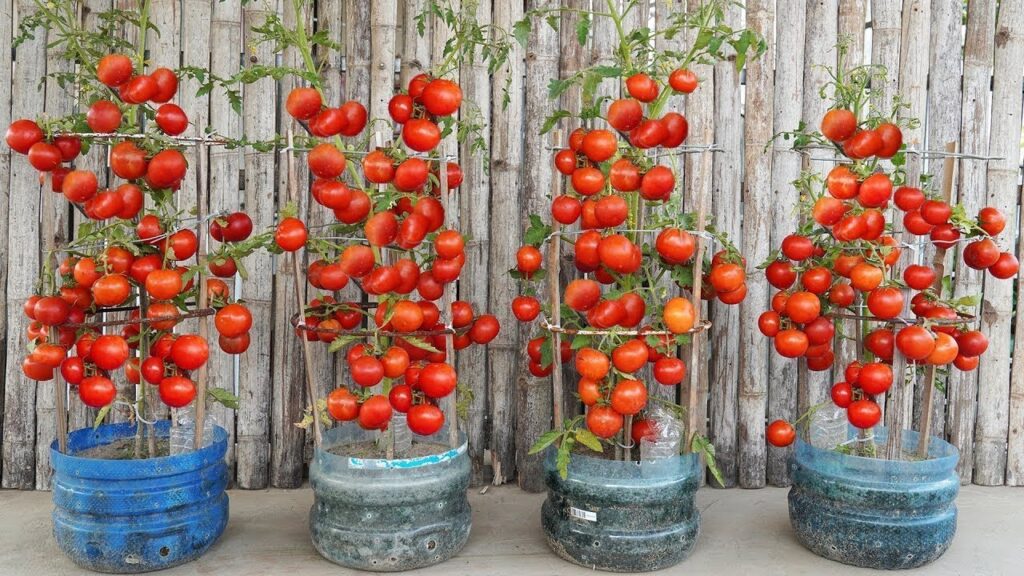
🌱 Step 7: Support / Staking the Plant
As the tomato plant grows taller, give it support:
- Bamboo stick
- Metal rod
- Wooden stick
- Old PVC pipe
Tie the plant gently using soft cloth or thread.
This prevents branches from breaking and encourages upward growth.
🌸 Step 8: Boosting Flowering & Fruiting
Tomato plants need nutrients at the right time.
After 30 Days (Vegetative Stage)
Add:
- 1 handful vermicompost
- 1 tsp neem cake
Mix gently into the topsoil.
After 45 Days (Flowering Stage)
Give:
- Mustard cake water (once every 15 days)
OR - Banana peel fertilizer (potassium rich)
During Fruiting Stage
Add Epsom Salt (1 tsp in 1 liter water) once in 20 days.
This prevents flower dropping and blossom-end rot.
🐛 Step 9: Common Problems & Simple Solutions
1. Yellow Leaves
Cause: Overwatering or nutrient deficiency
Solution: Reduce watering + add compost
2. Flower Drop
Cause: Lack of sunlight, low potassium
Solution: 6+ hours sun + banana peel fertilizer
3. Tiny Tomatoes
Cause: Dense soil or overcrowding
Solution: Keep only one tomato plant per crate
4. Pests (Whiteflies, Aphids)
Spray:
- Neem oil (5 ml in 1 liter water)
- Once every 7–10 days
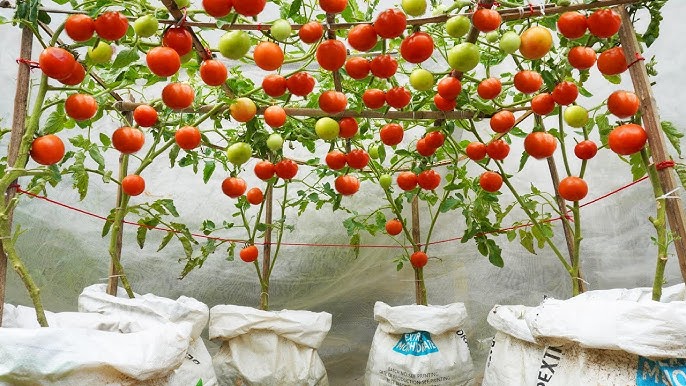
🍅 Step 10: Harvesting Time!
Your tomatoes will be ready in:
- 70–90 days after transplanting
When to harvest:
- Fruits turn light red to deep red
- Soft when gently pressed
- Easily pluck from the branch
Home-grown tomatoes are:
✔ Sweeter
✔ Juicier
✔ More aromatic
✔ Completely chemical-free
🌿 Pro Tips for Maximum Tomato Yield
⭐ Use a Bigger Crate
Bigger crate = bigger root system = more tomatoes.
⭐ Remove Lower Leaves
Improves air circulation and prevents fungal issues.
⭐ Mulch the Soil
Use dry leaves or straw to hold moisture.
⭐ Prune Side Shoots (Suckers)
This boosts fruit size and plant strength.
⭐ Rotate the Crate Weekly
Ensures even sunlight on all sides.
🌱 Final Thoughts
Growing tomatoes at home in fruit or vegetable crates is not just easy—it’s fun, sustainable, and incredibly rewarding. With the right soil mix, proper sunlight, and timely care, you can harvest a continuous supply of fresh tomatoes for months. Whether you live in an apartment or have limited outdoor space, this method works beautifully.
Start today with just one crate and watch how a simple box transforms into a mini tomato farm