Ranunculus, also known as the “Rose of Spring,” is famous for its multi-layered petals, vibrant colors, and long-lasting blooms. These luxurious flowers look like they belong in high-end wedding bouquets, yet they can be grown right at home—even from tiny seeds. Although growing ranunculus from seeds requires patience, the reward is breathtaking. With proper care, you can turn these tiny seeds into bold, beautiful blossoms that dazzle your garden or balcony.
This complete seed-to-flower guide will walk you through everything: the best soil, sowing techniques, lighting, watering, transplanting, and care tips to ensure a massive, colorful display of ranunculus blooms.
1. Understanding Ranunculus: A Quick Introduction

Ranunculus (pronounced ruh-NUN-kyuh-lus) is a cool-season flowering plant native to Asia and the Mediterranean.
It produces:
- Whorled, layered petals
- Long stems perfect for cut flowers
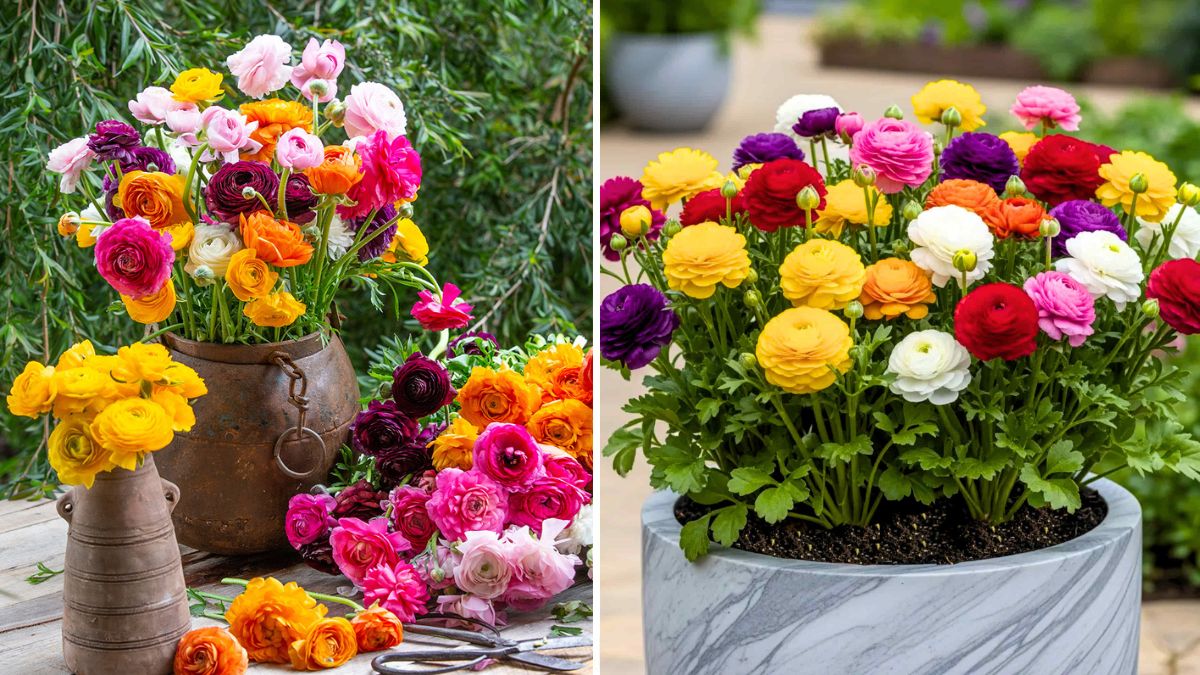
- Blooms in dozens of colors: yellow, red, peach, pink, white, purple, and bi-colors
If you want an early spring garden full of charming, rose-like flowers, ranunculus is the ideal choice.
2. Challenges of Growing Ranunculus from Seeds

Growing ranunculus from seeds demands extra care because:
- Seeds are very tiny
- Germination rate is low without proper conditions
- They require cool weather
- Growth is slow in the beginning
But with the right steps, you can achieve near-perfect germination and grow tons of plants at very little cost.
3. Best Time to Start Ranunculus Seeds
Ranunculus prefers cool temperatures. The ideal sowing time is:
- Cool regions: Late winter to early spring
- Tropical/subtropical regions: Late October to early December
Avoid high summer heat as it slows down growth and causes weak seedlings.
4. Materials You Need to Grow Ranunculus from Seeds

To get the best results, collect the following:
- High-quality ranunculus seeds
- Seed trays or small pots
- Fine, well-draining seed-starting mix
- Spray bottle
- Plastic wrap/cling film (for humidity)
- Grow lights (optional but recommended)
- Labels for seed varieties
Using a fine seed mix increases germination because the tiny seeds need a very soft medium to start growing.
5. Preparing the Perfect Seed-Starting Mix
Ranunculus seeds need a fluffy, airy, and sterile mix.
Use this ideal seed mix:
- 50% cocopeat
- 30% perlite or sand
- 20% compost (well-rotted)
Avoid using garden soil—it is too heavy for delicate seeds and may cause damping-off disease.
6. Sowing Ranunculus Seeds: Step-by-Step
- Fill seed trays with the prepared mix.
- Level the surface gently.
- Sprinkle seeds on top of the soil—do not bury them.
- Ranunculus seeds require light to germinate.
- Mist water gently using a spray bottle.
- Cover the tray with plastic wrap or a humidity dome.
- Place the tray in a cool, bright spot (15–18°C is best).
- Keep the soil consistently moist, not soggy.
Germination Time:
Ranunculus seeds take 14–28 days to germinate. Some may sprout earlier.
7. Light Requirements for Seed Germination

Ranunculus seeds need bright indirect light during germination.
After seedlings emerge:
- Move to a location with 4–6 hours of sun
- If indoors, place under grow lights for 12–14 hours daily
- Keep lights 4–6 inches above the seedlings
Insufficient light causes leggy, weak plants.
8. Temperature Requirements
Ranunculus loves cool weather.
Ideal temperature during seedling stage:
- Day: 16–20°C
- Night: 10–15°C
Avoid hot environments because heat stress delays growth.
9. Watering Your Ranunculus Seedlings

Water carefully—ranunculus hates soggy soil.
Watering Tips:
- Use a spray bottle or bottom-watering method
- Keep soil moist but never waterlogged
- Reduce watering if you notice yellowing seedlings
Overwatering causes root rot, the most common cause of seedling loss.
10. Transplanting Ranunculus Seedlings
Once the seedlings develop:
- 2–3 sets of true leaves
- Strong stems
- Good root growth
…they are ready for transplanting.
How to Transplant:
- Choose a 6–8 inch pot or garden bed.
- Use rich, well-draining soil:
- 40% garden soil
- 40% compost
- 20% sand/perlite
- Dig a small hole and place the seedling gently.
- Keep the crown slightly above soil level.
- Water lightly.
- Place in partial shade for 2–3 days until recovery.
Spacing:
- 8–10 inches between plants for full blooming
11. Feeding / Fertilizing for Healthy Ranunculus Plants
Ranunculus are heavy feeders.
Use the following schedule:
Before Flowering:
- Add compost every 15 days
- Use liquid seaweed or compost tea every 10 days
- Add bone meal for strong roots
During Flowering:
- Use potash-rich fertilizers
- Banana peel fertilizer works beautifully
- Avoid high nitrogen (it produces leaves, not flowers)
Healthy feeding = bigger, brighter blooms.
12. Sunlight Requirements for Blooming
To produce large, multi-layered flowers, ranunculus needs:
- 6 hours of direct sunlight
- Morning sun is best
- Protect from harsh afternoon heat
In low sunlight, they produce fewer and smaller flowers.
13. Watering Mature Ranunculus Plants
Ranunculus likes moisture but cannot tolerate soggy roots.
Watering Guidelines:
- Water 2–3 times a week in winter
- In warm climates, water lightly every alternate day
- Check soil moisture with your finger
- Always water at the base—avoid wetting the leaves
Mulch around the plant to maintain cool, moist soil.
14. Common Pests & Diseases
Pests:
- Aphids
- Thrips
- Whiteflies
Natural Solutions:
- Neem oil spray every 10 days
- Soap water spray for aphids
- Keep the area clean
Diseases:
- Powdery mildew
- Damping-off
- Root rot
Prevention:
- Provide good airflow
- Avoid overwatering
- Keep foliage dry
15. Budding & Flowering Stage
Ranunculus begins to show buds after 90–120 days of sowing.
To enhance flowering:
- Provide full sun
- Keep soil moist
- Add potash fertilizer
- Remove old or yellow leaves
- Pinch off the first bud for bushier growth (optional)
Blooms last for 4–6 weeks depending on weather.
16. Harvesting Ranunculus Flowers
Ranunculus makes excellent cut flowers.
How to Harvest:
- Cut when buds are half-open
- Use sharp scissors
- Leave some foliage for plant health
Freshly cut ranunculus can last 7–10 days in a vase.
17. After Flowering Care
After the flowering season ends:
- Reduce watering
- Let the foliage turn yellow
- You can collect seeds or store the tubers (if grown from tuber-producing plants)
- Remove dried plants and compost the soil
This prepares the plant bed for the next season.
18. Tips to Grow Tons of Ranunculus Flowers
- Start seeds early in cool weather
- Give full sunlight
- Use light, airy seedling mix
- Do not overwater
- Fertilize regularly
- Protect from strong heat
- Provide good spacing
- Use organic mulches
With these tips, you can easily grow dozens of healthy, vibrant ranunculus flowers.
Final Thoughts
Growing ranunculus from seeds may be a slow journey, but the reward is worth every bit of effort. From tiny specks to glamorous layered blooms, watching ranunculus grow is a magical experience. With patience, care, and the right growing steps, you can transform your balcony or garden into a rainbow of colorful spring flowers.