Tulsi—also known as Holy Basil—is one of the most sacred and medicinal plants in Indian households. Whether used in herbal teas, Ayurvedic remedies, or simply kept as a spiritual plant, Tulsi holds a special place in daily life. While many people grow Tulsi from seeds, growing it from cuttings is even easier, faster, and more reliable. With just a single healthy twig, you can grow multiple Tulsi plants that root quickly and thrive for years.
In this complete guide, you’ll learn everything you need—from choosing the perfect cutting to planting, rooting, caring, and updating the plant’s growth till maturity. This is a full, step-by-step article suitable for beginners as well as experienced gardeners.
🌿 Why Grow Tulsi from Cuttings?
Growing Tulsi from cuttings has many benefits:
- Faster growth than seeds
- You get an exact copy of the parent plant
- Higher success rate
- Produces stronger, healthier plants
- Perfect method during monsoon and spring
- Great for gifting Tulsi plants to family and friends
Whether you grow Rama Tulsi, Krishna Tulsi, Vana Tulsi, Kapoor Tulsi, or Lakshmi Tulsi, the process remains the same.
🌱 Step 1: Choosing the Perfect Tulsi Cutting

This is the most important step for success.
✔ Select a cutting that is:
- 4–6 inches long
- Taken from a healthy, disease-free mother plant
- Semi-hardwood (not too soft, not too woody)
- Loaded with 4–6 leaf nodes
Don’t take:
- Very old woody stems
- Very soft green tips
- Damaged or yellowing stems
Best Time to Take Cuttings:
- Early morning
- Monsoon / spring / early summer
- When the plant is actively growing
This ensures faster root development.
✂️ Step 2: Preparing the Cutting Properly
- Remove all the lower leaves.
- Keep only 2–3 leaves at the top.
- Remove any flower buds.
- If the stem is thick, make a 45-degree cut at the bottom for better absorption.
Rooting Boosters (Optional but Helpful):
- Dip the cutting in honey (natural rooting stimulant)
- or use aloe vera gel
- or a ready-made rooting hormone
These improve success rate significantly.
🪴 Step 3: Preparing the Perfect Pot & Soil Mix
Tulsi roots very easily, but the right soil mix helps prevent rotting.
✔ Best Soil Mix for Rooting:
- 50% cocopeat
- 30% river sand
- 20% compost
This mix is airy, drains well, and encourages fast root growth.
Pot Size:
- Use a small pot or plastic cup with holes
- 4–6 inch pots are ideal for starting cuttings
Once rooted, Tulsi can be transplanted into bigger pots.
🌱 Step 4: Planting the Cutting the Right Way
- Make a small hole in the soil.
- Insert the cutting 2–3 inches deep.
- Firm the soil gently around it.
- Water lightly—do NOT overwater.
- Place the pot in bright, indirect light.
Important:
Tulsi cuttings should never be placed in harsh direct sunlight because they dry out before rooting.
💧 Step 5: Watering & Moisture Management
Rooting cuttings need proper moisture—not too little, not too much.
Watering Rules:
- Keep soil slightly moist
- Do NOT make it soggy
- Mist leaves lightly once a day
- Ensure good drainage
Overwatering is the main reason Tulsi cuttings fail.
🌤 Step 6: Creating a Mini Greenhouse (Optional but Highly Effective)
This increases rooting success dramatically.
How to do it:
- Cover the pot with a plastic bottle or polythene bag
- Punch a few small air holes
- This traps humidity and prevents drying
Remove the cover daily for 10 minutes to allow fresh air circulation.
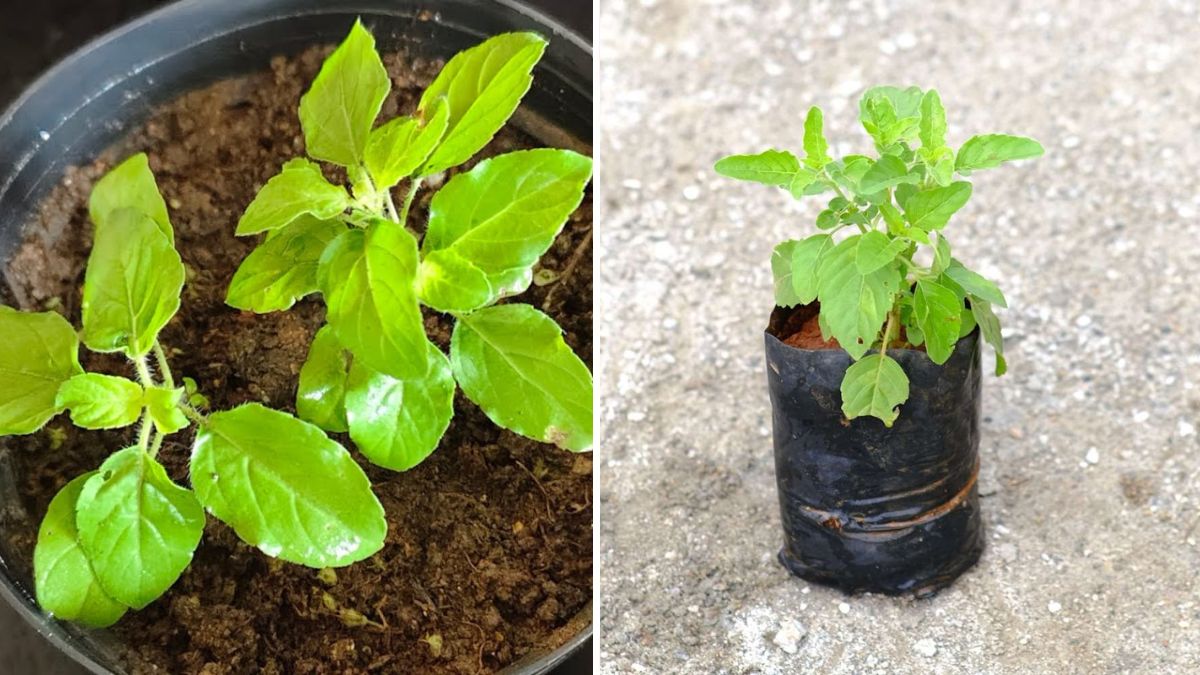
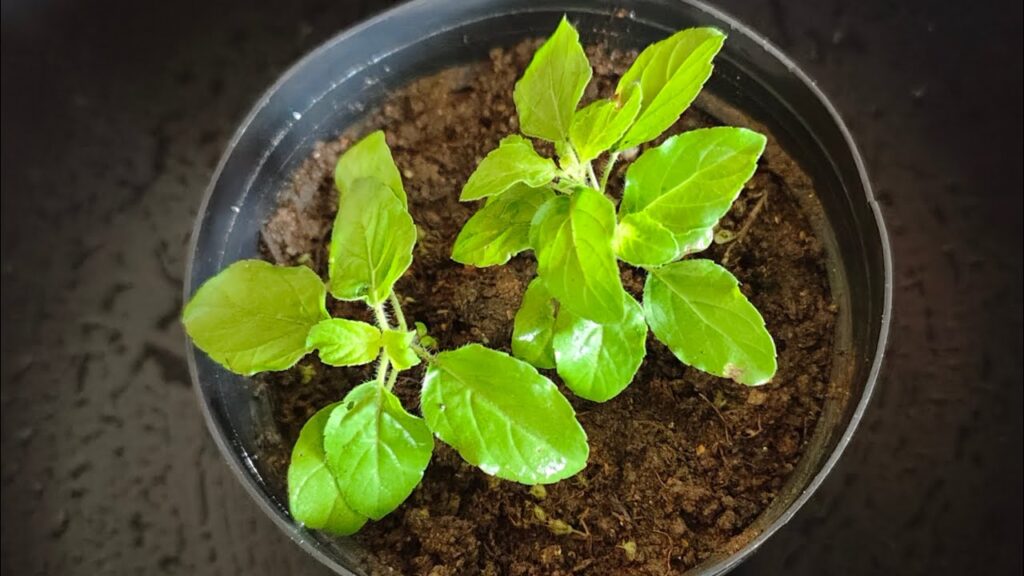
🌿 Step 7: Rooting Timeline – Full Updates
Here is the complete growth timeline of a Tulsi cutting:
Week 1 – Callus Formation
- The base forms a protective layer
- No roots yet – be patient
- Leaves may droop slightly
Week 2 – New Roots Appear
- Tiny white roots start growing
- The cutting becomes firm
- New leaves may appear at top nodes
Week 3 – Strong Root Growth
- Roots spread inside pot
- Plant becomes upright and strong
- Increase watering slightly
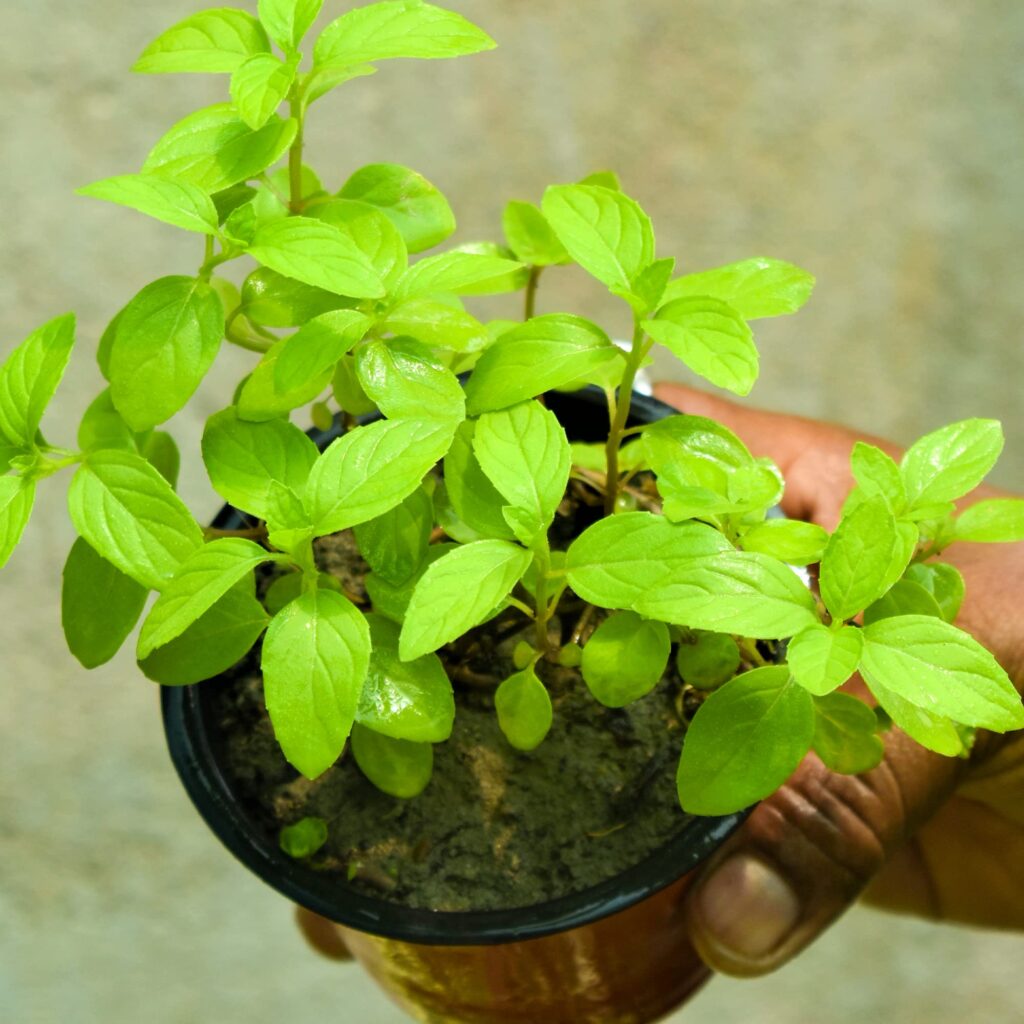
Week 4 – Ready for Transplanting
- Cutting is now a full plant
- Can be moved into a bigger pot
- Can now tolerate mild sunlight
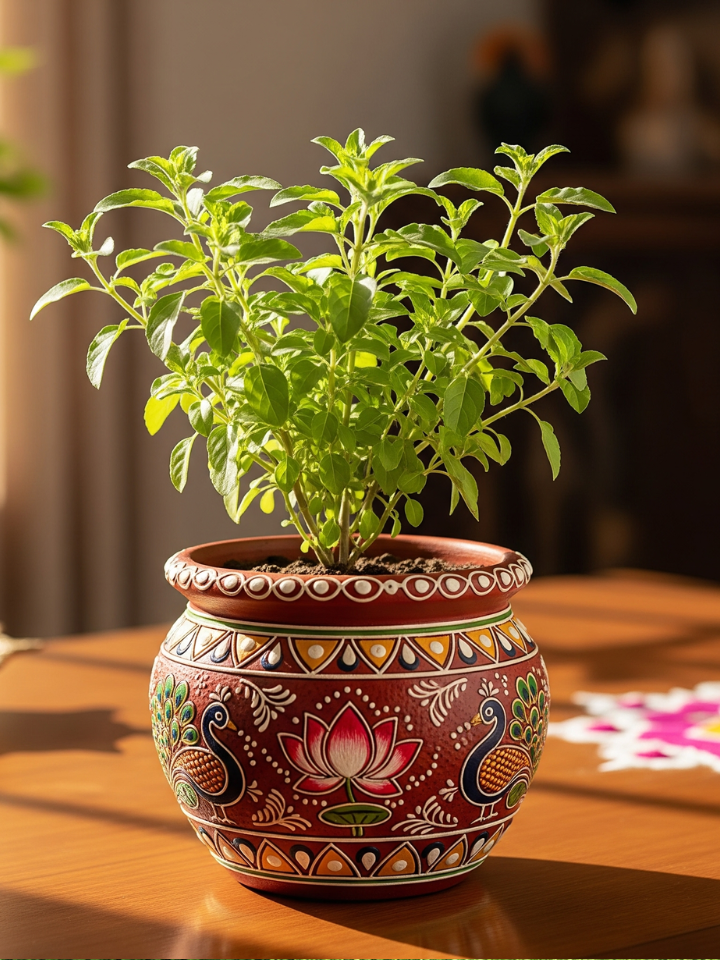
🪴 Step 8: Transplanting into a Bigger Pot
Once roots are fully developed:
Choose a final pot:
- 8–12 inches wide
- Proper drainage holes
- Clay pots are excellent for Tulsi
Final Soil Mix:
- 40% garden soil
- 40% compost
- 20% cocopeat or sand
- Add a handful of neem cake powder
Carefully transfer the rooted plant without disturbing its roots.
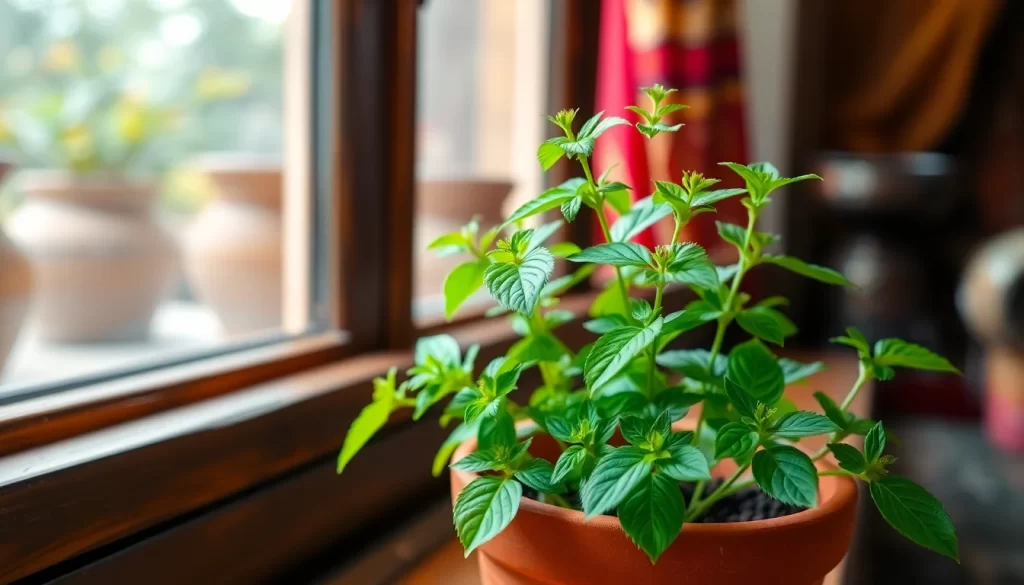
🌞 Step 9: Sunlight Requirements After Rooting
After transplanting, follow this schedule:
First 5 days:
- Keep in indirect light only
After 1 week:
- Give morning sunlight 1 hour
After 2 weeks:
- 3–4 hours direct sunlight daily
Tulsi grows best in full morning sunlight.
💧 Step 10: Watering & Fertilizing a Mature Tulsi Plant
Watering:
- Water when top soil feels dry
- Avoid waterlogging
- Deep watering once every 2–3 days
Best Natural Fertilizers:
- Compost
- Cow dung manure
- Seaweed extract
- Vermicompost tea
Feed Tulsi every 20–25 days for lush growth.
🌿 Step 11: Pruning for Bushy Growth
To make your Tulsi plant dense and full:
- Pinch off the top 2 leaves regularly
- Remove flowers when they appear
- Trim long stems
Pruning makes Tulsi produce more branches, leaves, and aroma.
🌸 Step 12: Handling Common Problems
✔ Yellow Leaves:
Overwatering or lack of sunlight
✔ Wilting:
Dry soil or root shock after transplanting
✔ Slow Growth:
Poor soil or low sunlight
✔ Pest Attack (rare in Tulsi):
Use neem oil spray every 7–10 days
🌿 Tips for a Healthy & Long-Lasting Tulsi Plant
- Give it full morning sun
- Do not keep Tulsi indoors permanently
- Avoid chemical fertilizers
- Water only when needed
- Always pinch flowers to improve leaf growth
- Add compost monthly
With proper care, Tulsi plants can live 2–5 years and keep producing leaves daily.
🌟 Final Thoughts
Growing Tulsi from cuttings is one of the simplest, fastest, and most rewarding gardening processes. With just a small healthy twig, you can grow a full plant that is aromatic, medicinal, and spiritually uplifting. Whether you’re a beginner or an experienced gardener, this step-by-step guide with complete updates will help you root Tulsi cuttings successfully and enjoy a beautiful, thriving plant for years.